
Whew! If you follow me on IG then you know I fought hard to make these jeans. I faced every challenge… from having the wrong fabric to breaking my machine (hopefully that’s temporary).


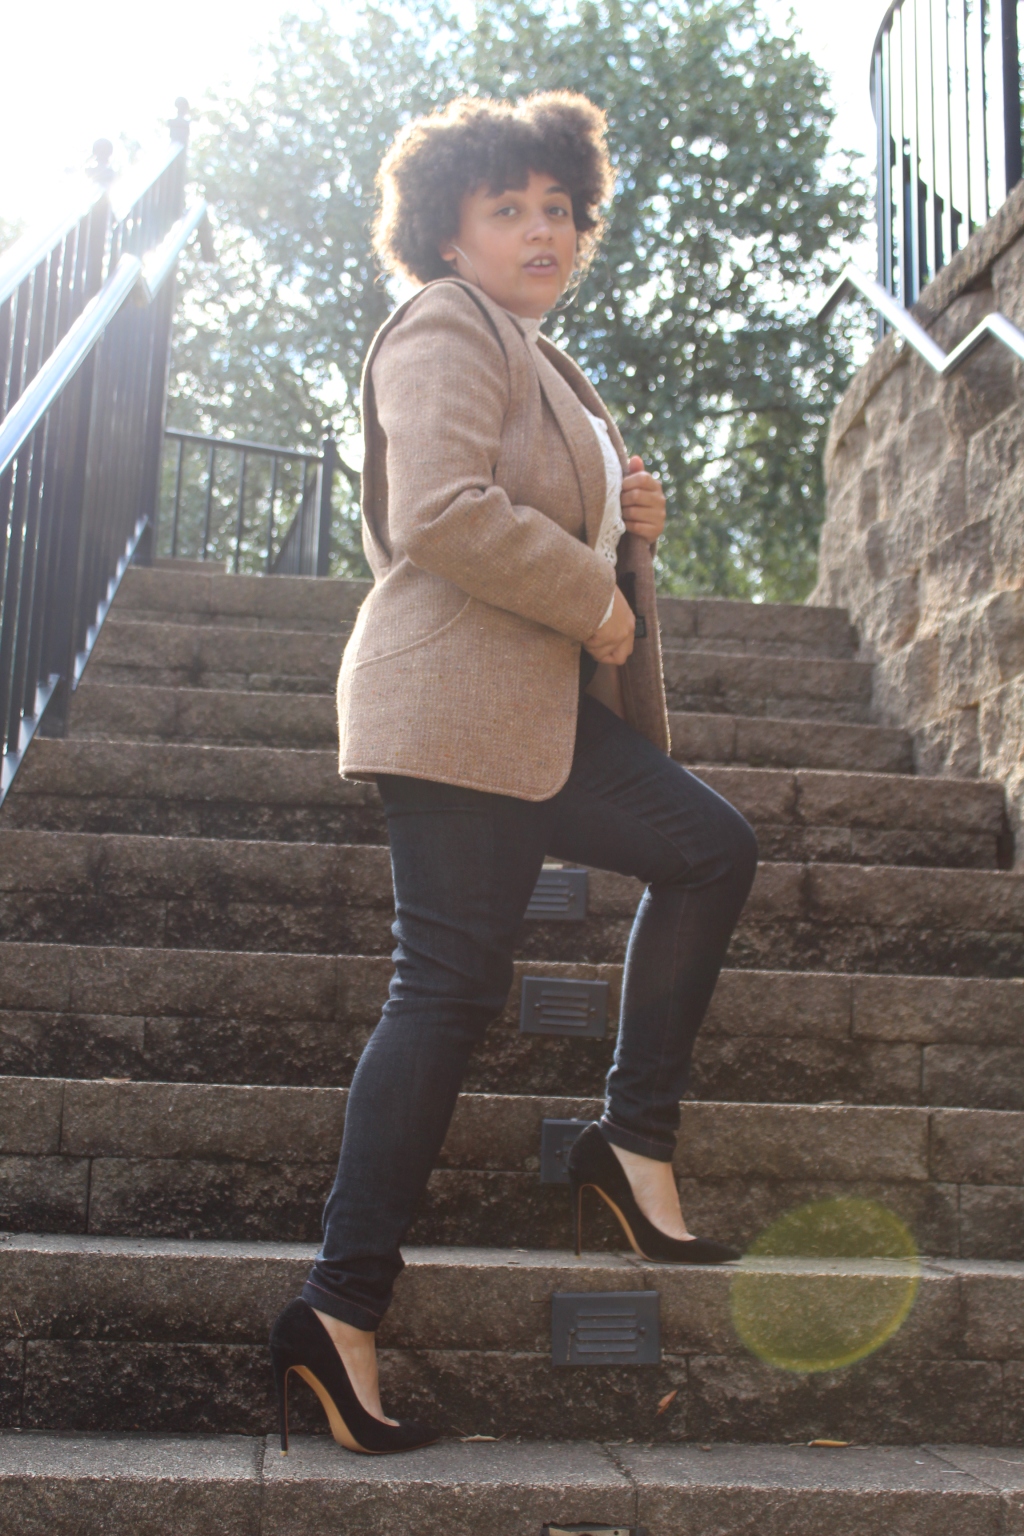
But mama! I made it! Here they are and I lived to tell the tale! My very first pair of jeans! With a waist band, button and zipper fly and all the top stitching a girl could ask for!
I used a rose-y top stitch thread color by Gutermann since my jeans are really dark. The yellow was a very harsh contrast between the dark wash. The rose color was definitely more mellow. 
I used a stretch denim from Fabric.com and made sure to pre-wash since I heard that raw denim can actually bleed really badly.
I made sure that I purchased a denim needle and widened my top stitch length to 4-4.5 at certain seams. A pro tip: use normal thread in your bobbin when your top stitching. Don’t ask me why it works, but it does! 
And I used Simplicity 8516 (Mimi G pattern) for my make. A lot of reviews mentioned that these were mid waist jeans. Well, I’m so short they were high waist on me –but I aint mad. They actually came out more flattering. I opted not to take in the rise by 1 inch like I normally do since this was my first pair. 
In her 5-video tutorial on YouTube she mentions grading a size down for the stretch denim, which I did. And bast-stitching the side seams before a final stitch. I did that too. I probably took in an inch or 2 on each side of the jeans. Whew, but they fit like a glove. I did have to remove the coin pocket after taking them in so much and I took in my waistband by an inch versus 5/8 inch.
The tutorial online was easy, but I wanted my jeans to be perfect so I was very particular about my topstitching and how the inside of the jeans would turn out. I think that now that I know what to expect as far as the steps and how denim will respond with my machines, I’ll be ready to make these again in no time! 
