

Happy Friday! Is it me or shirring has been everywhere this Summer? I mean, it’s around every Summer…but this Summer, it’s REALLY out there. LOL.
So, of course this sewing technique and Summer style naturally peaked my interest as sewist after sewist started turning out the most beautiful projects. But first… let’s unpack a few things.


1. The basics. Shirring is the art of using elastic thread (on the bobbin side) to create a gathering look. It’s seen a lot in Summer dresses – like maxis. And some big box stores will actually sell this ready to go on a bolt – because shirring CAN BE quite scary. But… it doesn’t have to be.
2. Tension, bobbin, repeat. When doing this technique, you will need elastic thread. It’s a thing! I didn’t know it before. But you will actually hand wind your bobbin with the elastic thread and drop it in your bobbin case. You’ll thread the top of your machine per usual. Get ready to have pieces of scrap fabric around to test the tension.


When winding the bobbin you don’t want it too loose nor too tight. But the best way to test your tension is to obviously try your scraps. If you find that you are completing a row but that it’s squiggly (like below) then it’s too loose. If you find that you cannot complete a row at all, you may have to re-wind your bobbin and start from the bottom. Yeah, sucky.

You’ll know you hit the jackpot if your rows look like this.


But also check your machine tension and stitch length. I have a domestic sewing machine without many bells and whistles – but for a reference… I had to adjust my tension between 6.5 and 7, and adjust my stitch length to 3.5.
Lastly, you will RUN THROUGH bobbins. It’s up to you to keep some on hand or to wind them as you go. I’d say that a bobbin lasted me about 3 rows before I had to switch. When finding the right elastic thread, I went to Amazon and read the reviews. This is the one I bought. It’s .5 MM in width.
Once you’ve found your “sweet spot” you will want to stitch your rows about 1/2 inch apart from one another. I made 22 rows and I did mock try ons to see how far I would need to keep going to cover my bust area. In research, I found that you should make between 15-25 rows of shirring.

3. Steam and the iron. The steam from the iron sets in your stitches. It’s like watching a magic trick – you will actually see the gathers shrink up! Simply steam each section and repeat.

A few myths that I want to bust!
What happens if my elastic breaks in the middle of a stitch? You can pick up where you left off! Start a few stitches before the breakage, and continue stitching.
Does the fabric hem rise as you sew your rows of stitching? So I honestly thought it would… but this is not true. If you cut your fabric at 40 inches lengthwise, then it will stay at 40 inches as you sew
And now here comes the fun part. I have 2 tutorials for you to make your own dresses! Woo-hoo!

For the baby doll dress:
- Measure your bust and multiply it by 1.5. This is the width of fabric that you need. You may have to turn your fabric on the selvage side to cut it. I know it’s so anti-sewing… but it works just for this project. I promise. For example, mine was 63.
- Measure from the top of your bust down to your desired hem length. Mine was around 30 inches.
- Make a square using your measurements from those two numbers. For example, my square was 63 inches wide x 30 inches long.
- Make 4 straps 15 inches long x 3 inches wide.
- Serge the top and bottom of your square and sew a narrow hem on top hem. You can leave the sides unfinished.
- Begin sewing your rows of shirring using 1/2 inch spacing between the rows.
- You’ll need to make 4 straps. Fold the strap right sides together using a 1/2 inch seam allowance. Sew one end of your strap so that it’s a finished end. Using your fingers, turn your strap around and serge the raw edge. Repeat this for each strap.
- Finish the bodice. Right sides together, sew your backseam using a 1/2 inch seam allowance and finish it with a serger.
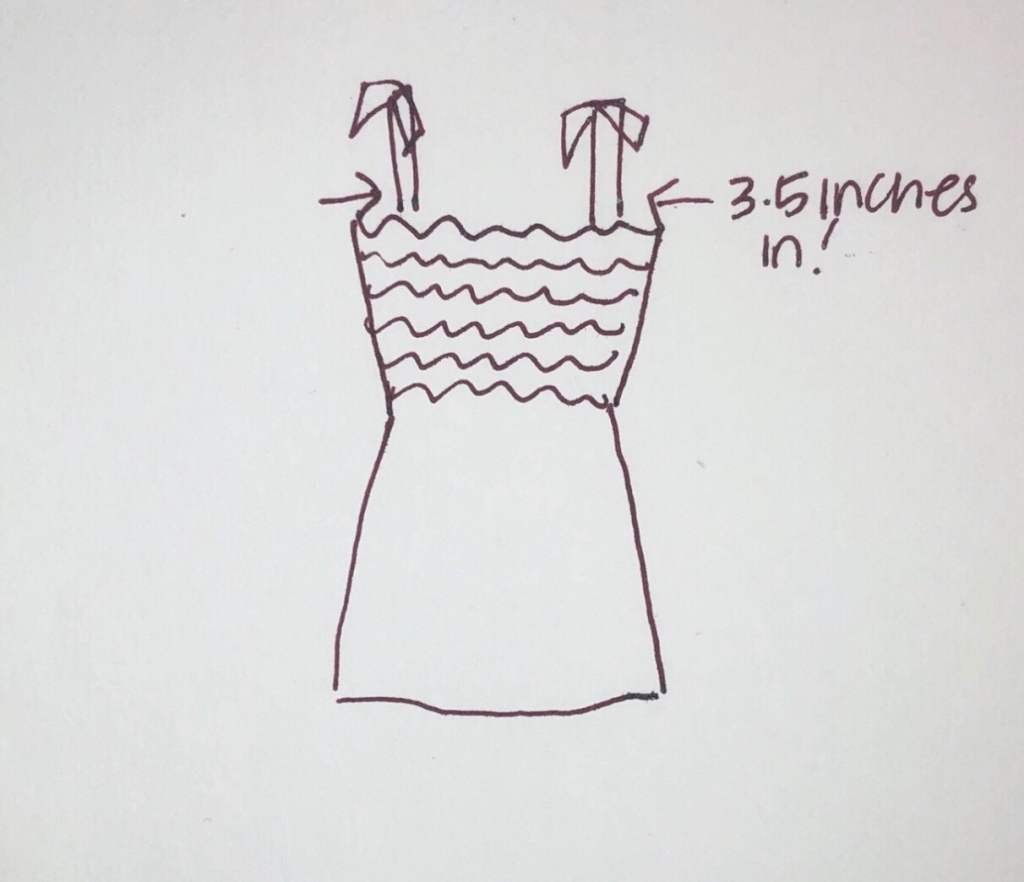
- Attach your straps by centering the backseam allowance and attaching your straps 3.5 inches into your bodice sides. See the diagram below.
- Make sure that your backseam is centered in the back
- Give your bottom edge a narrow hem. Done!


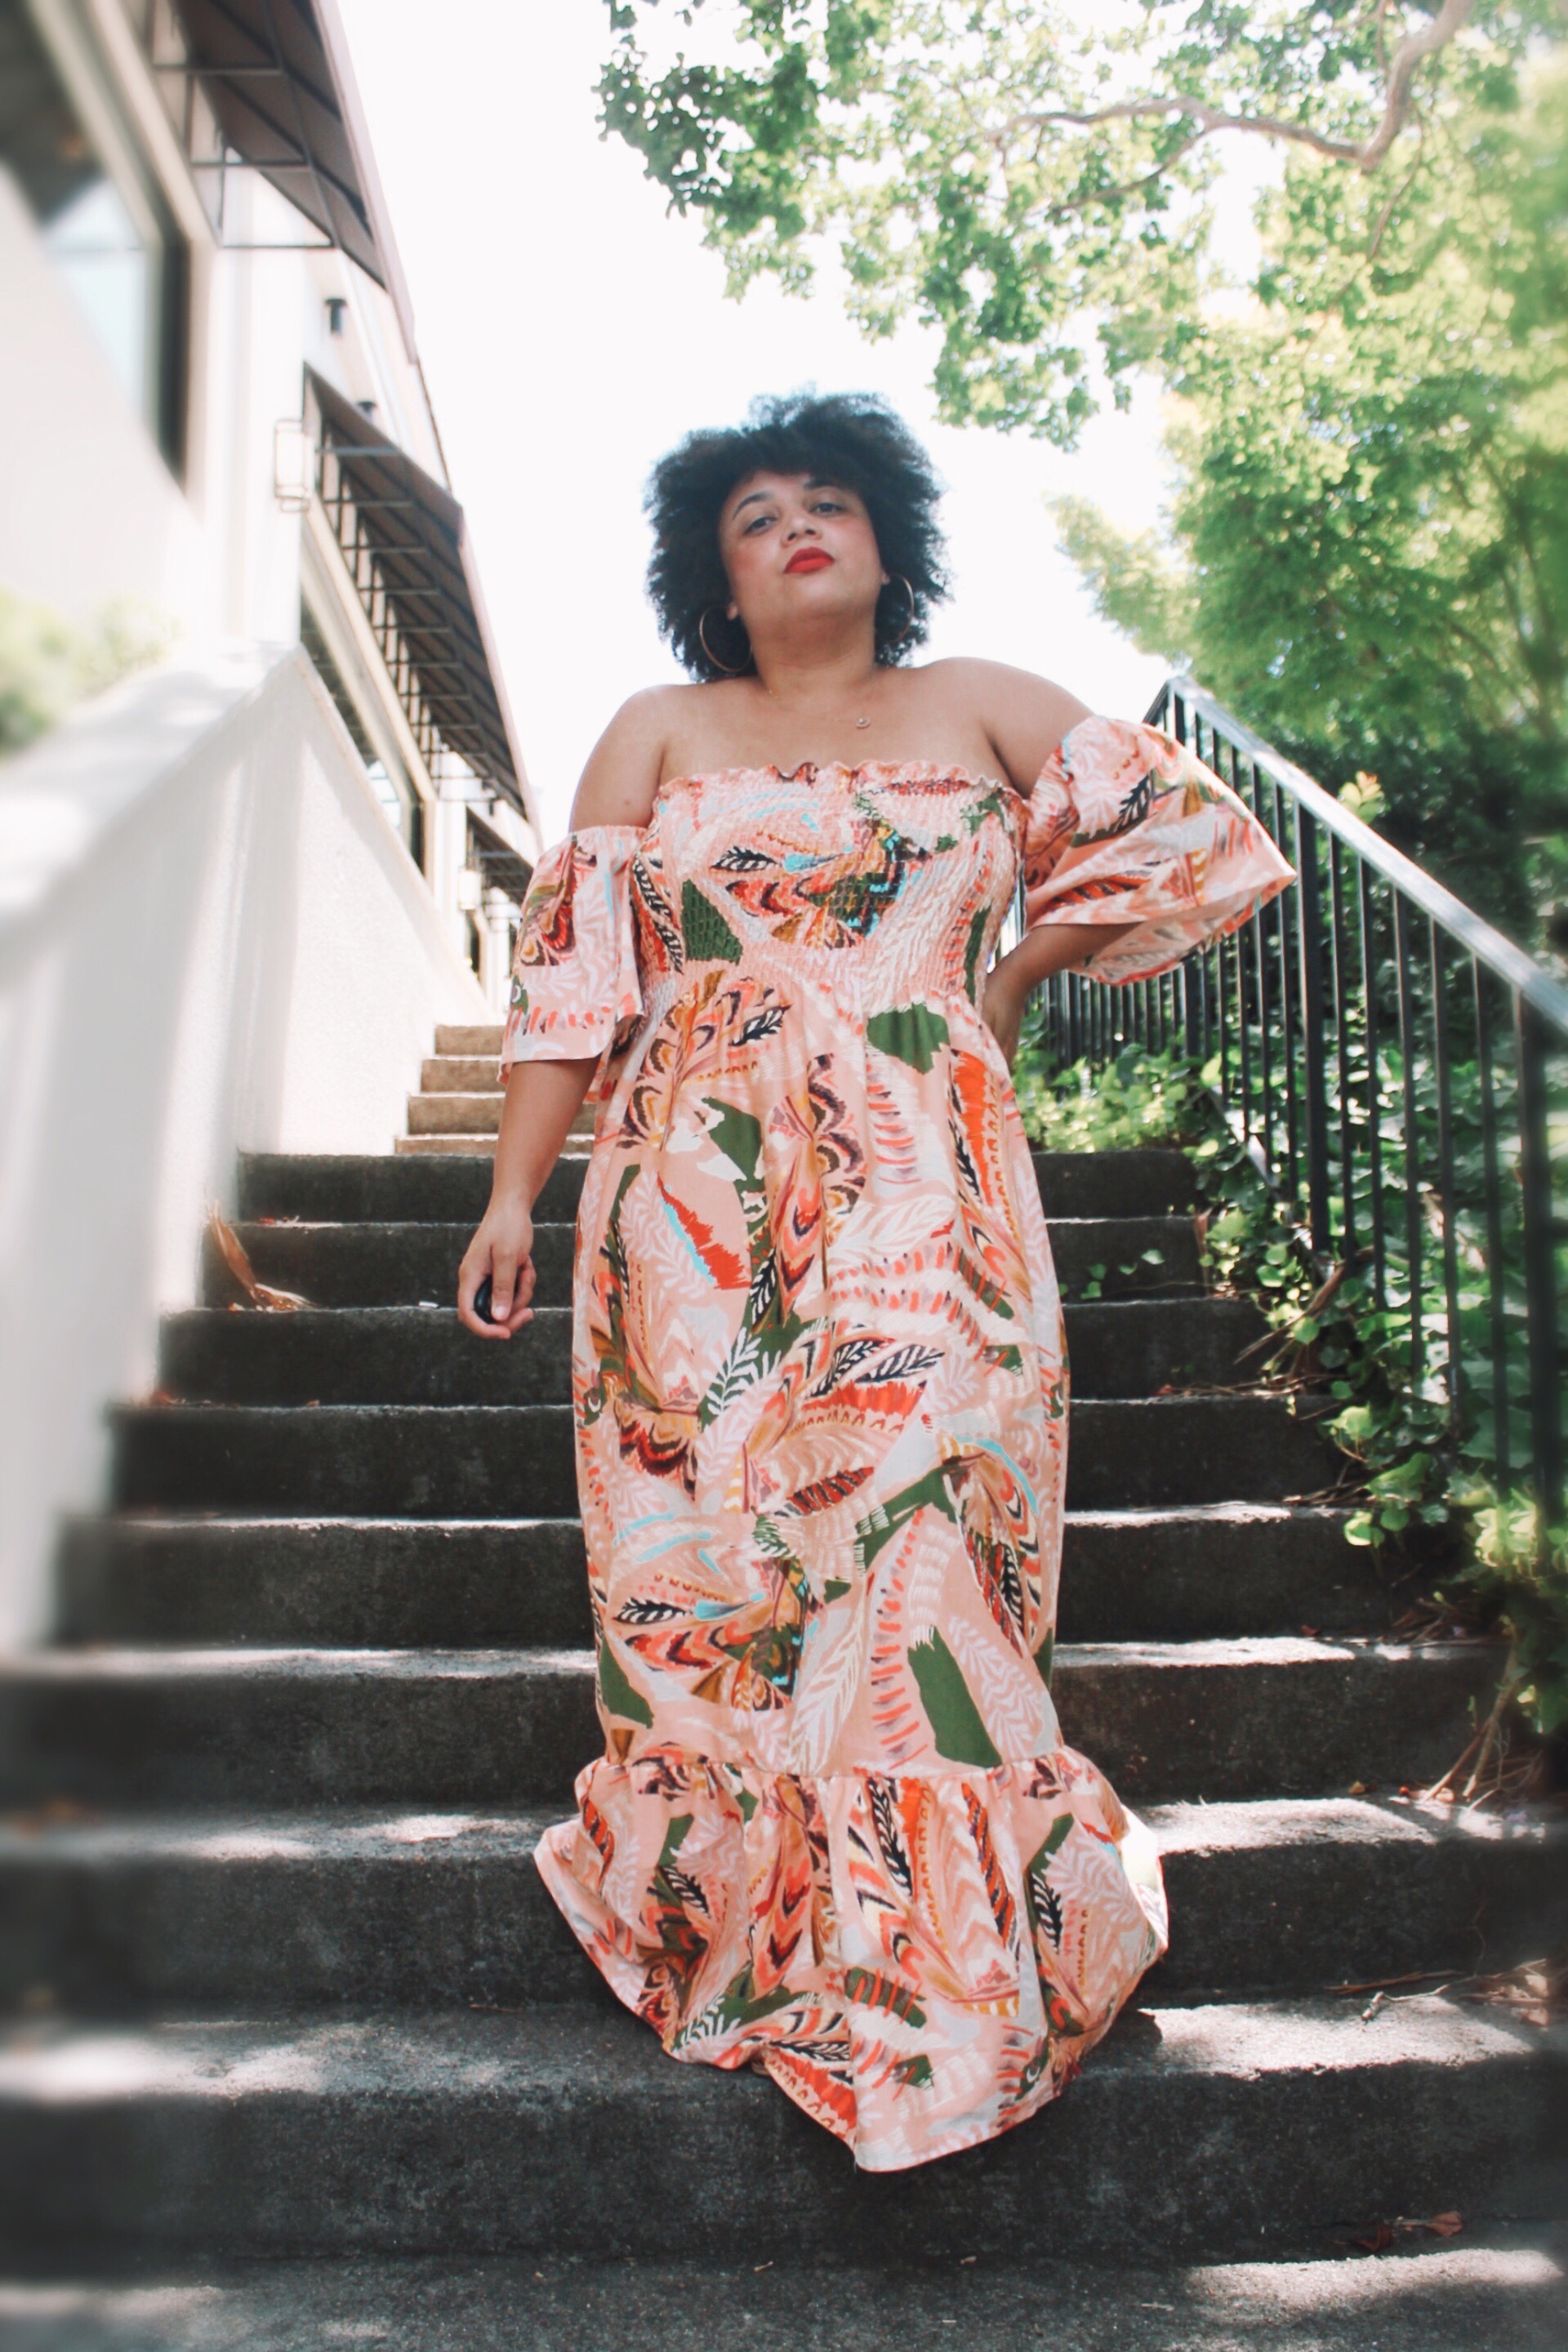
For the maxi dress:
- Repeat steps one through three above. If you wish to make a full maxi without a flounce then you will want to take your measurement to the floor.
- If you want to make a flounce, measure from the top of your bust to the floor – but subtract 13 to 16 inches (depending on your height) from your measurement. For example, if your measurement at full length is 50 inches, then you’ll subtract 13 inches and your new length will be 37 inches.
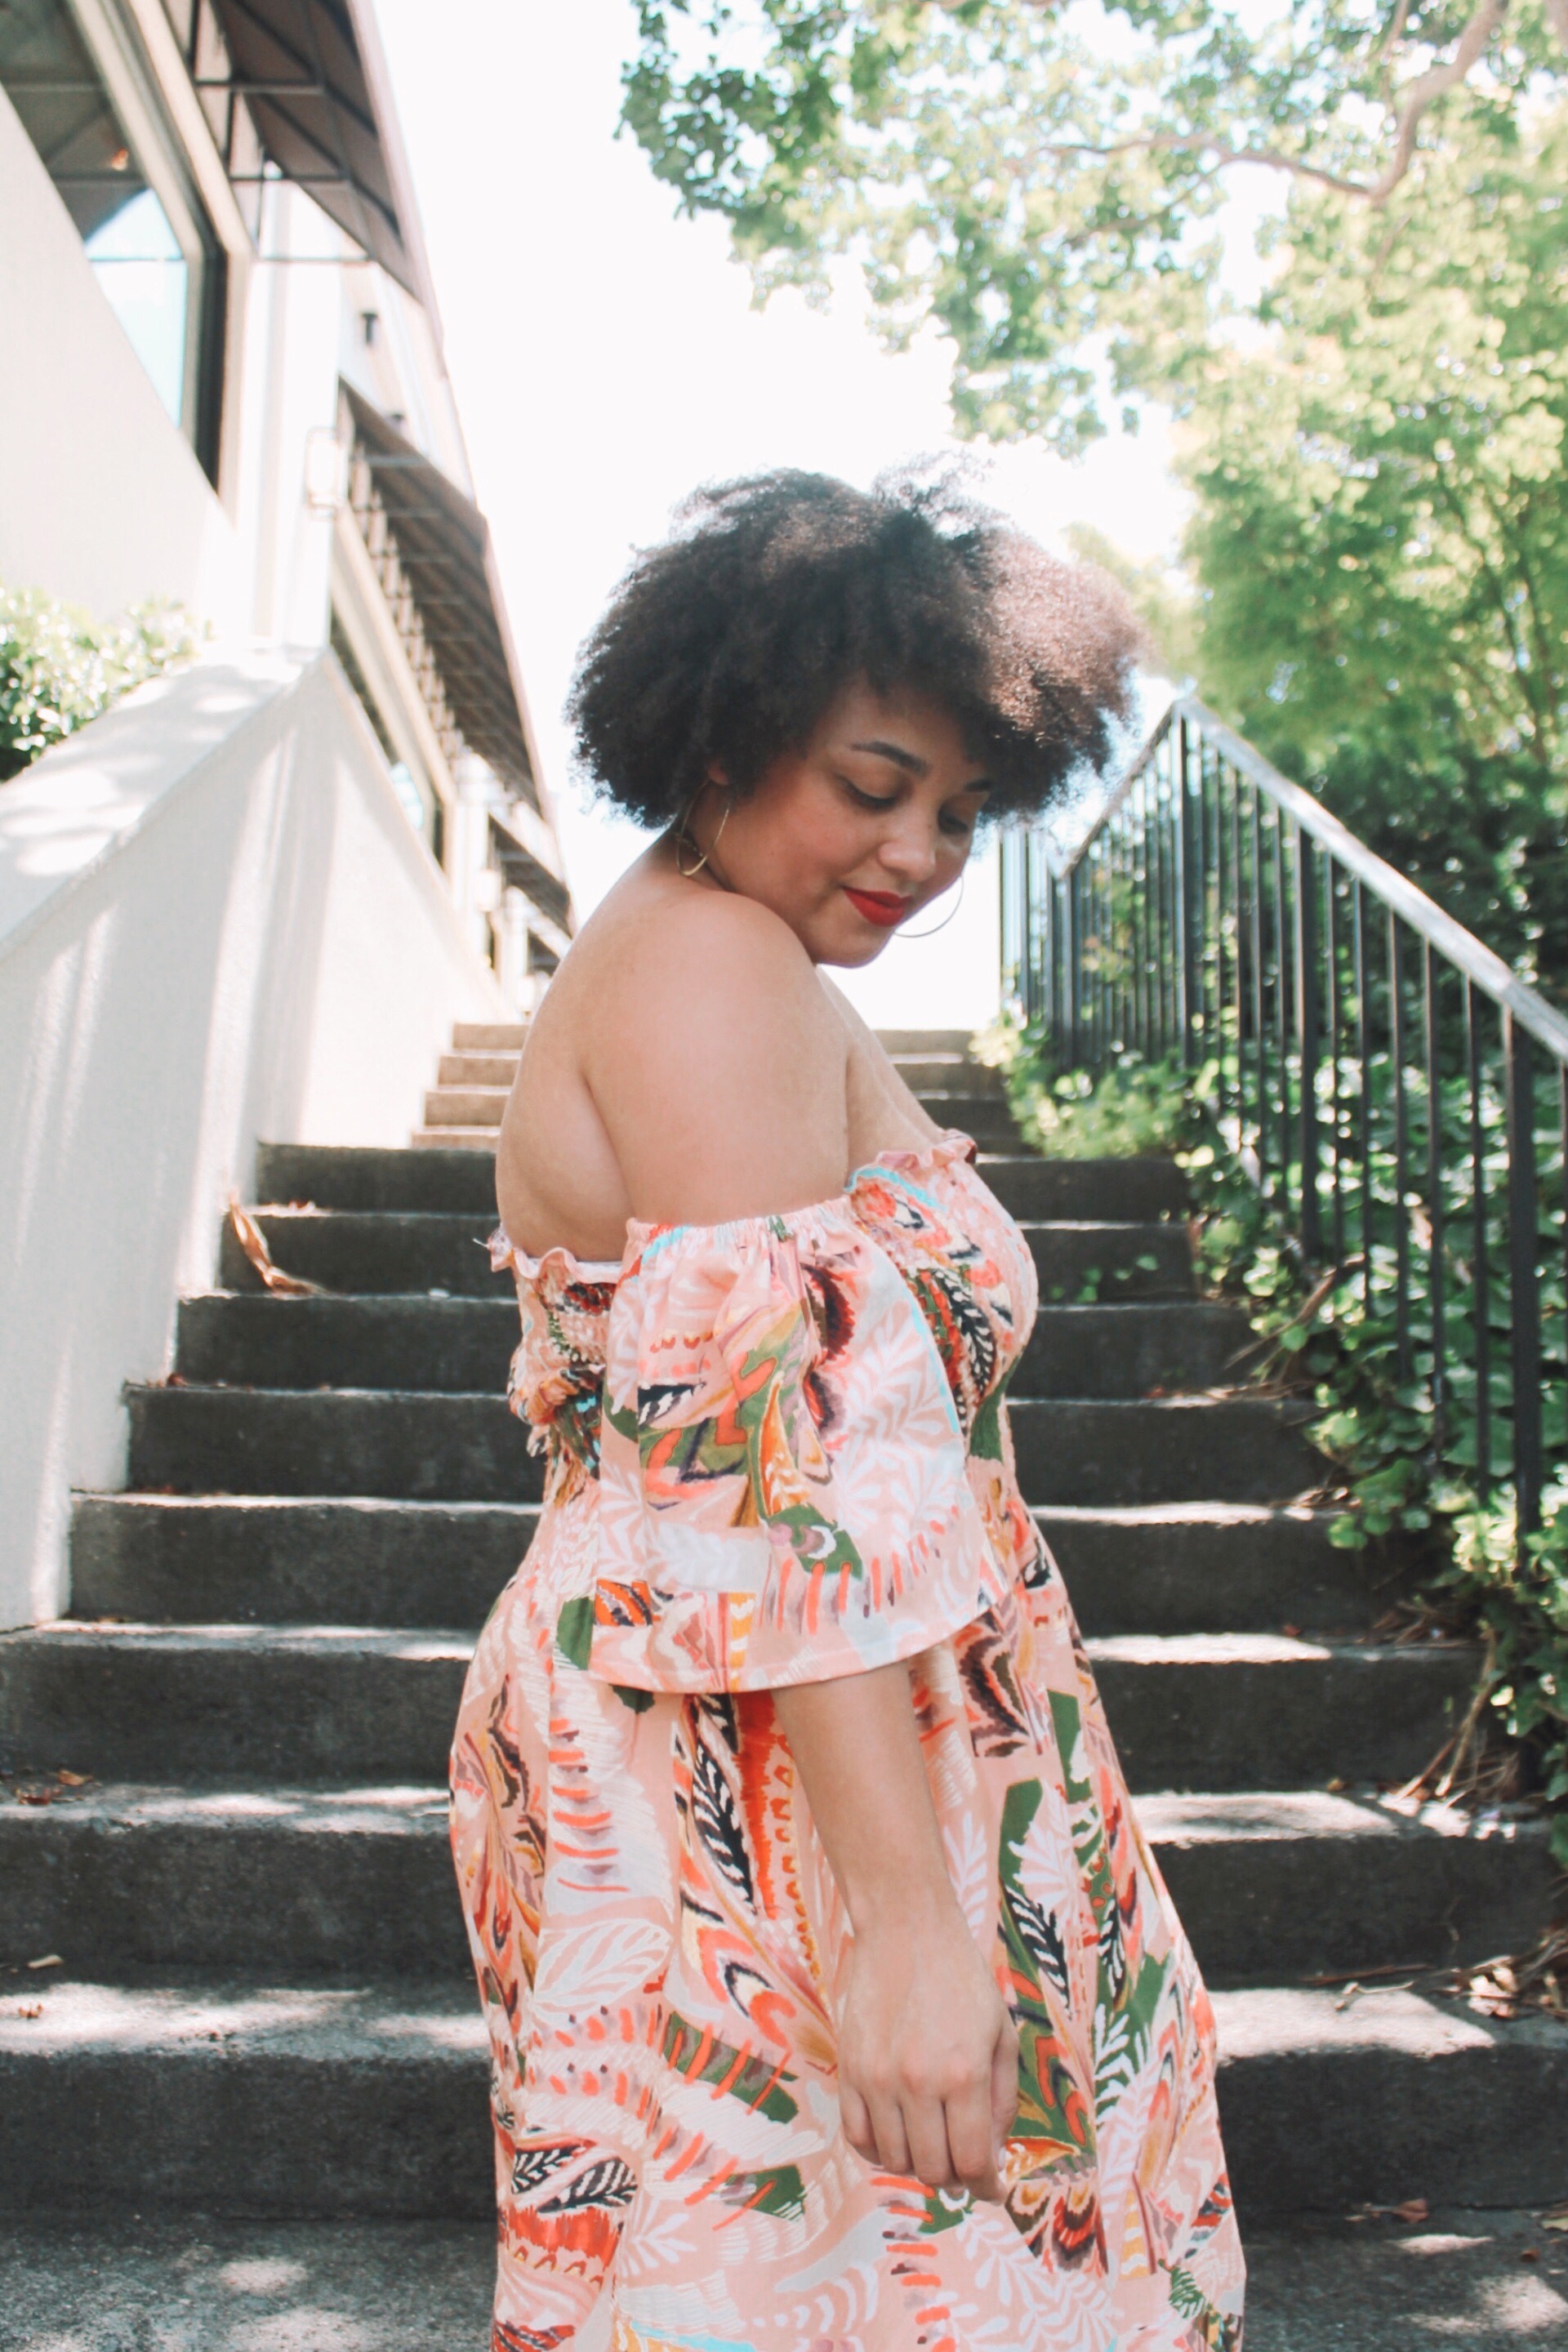
- For your sleeves, take your bicep circumference and multiply by 2. This is your width. Mine was 24 inches. Measure from your bicep to your elbow and add 1 inch. My total was 12. In my example, my sleeve pieces were 12×24 inches.
- Right sides together sew your sleeves. Create your casing for your elastic on one end of your sleeve cap and feed your elastic in and close the casing.
- Repeat steps 5 and 6 above.
- Making sure that your backseam is symmetrical in the back, add your sleeves to the side of the bodice. Use pins to mark 3 inches of space that you will sew your sleeves to your bodice.
- Repeat step 8 above.
- Make your flounce by taking 2 times the amount of your bottom circumference. For instance if mine was 63 inches, then the flounce needs to be 126 inches long by 13 inches.
- Using your preferred gathering method, add your flounce and finish your hem. Done!


