

Hey sewing friends! Raven Maureen, here. And I made the grooviest and sexiest flare jeans ever. I’m talking about the Isle Jeans by Chalk & Notch. They come in 2 views, flare and wide leg. I made the flare view. Both views come with patch pockets on the front and a pair on the back.

The pattern calls for either stretch (10-15%) denim or corduroy, a jeans zipper, a few buttons. I made mine out of a really pretty salmon colored stretch corduroy from Blackbird Fabrics.
The instructions were pretty thorough. If you are a novice, I encourage you to watch a few YouTube videos on fly zips. These steps are not hard, but it’s important to not skip steps on this because it takes a lot of moving parts to make it work together.

I cut out size 16 and made sure that the rise hit in a good place by making a muslin. Making a muslin can be helpful when making pants, but just know that for fitted jeans or pants – you’ll still be editing your final product to get the perfect fit. Even now, after sitting in the car and driving around, I’m thinking that I should take my jeans in more.
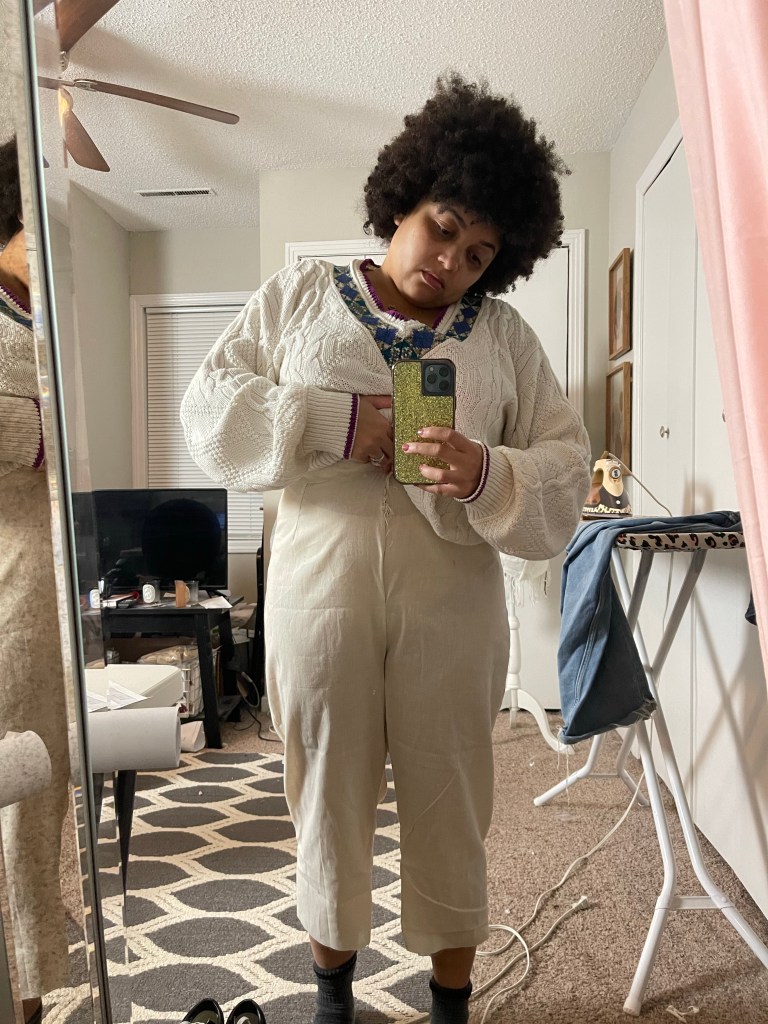
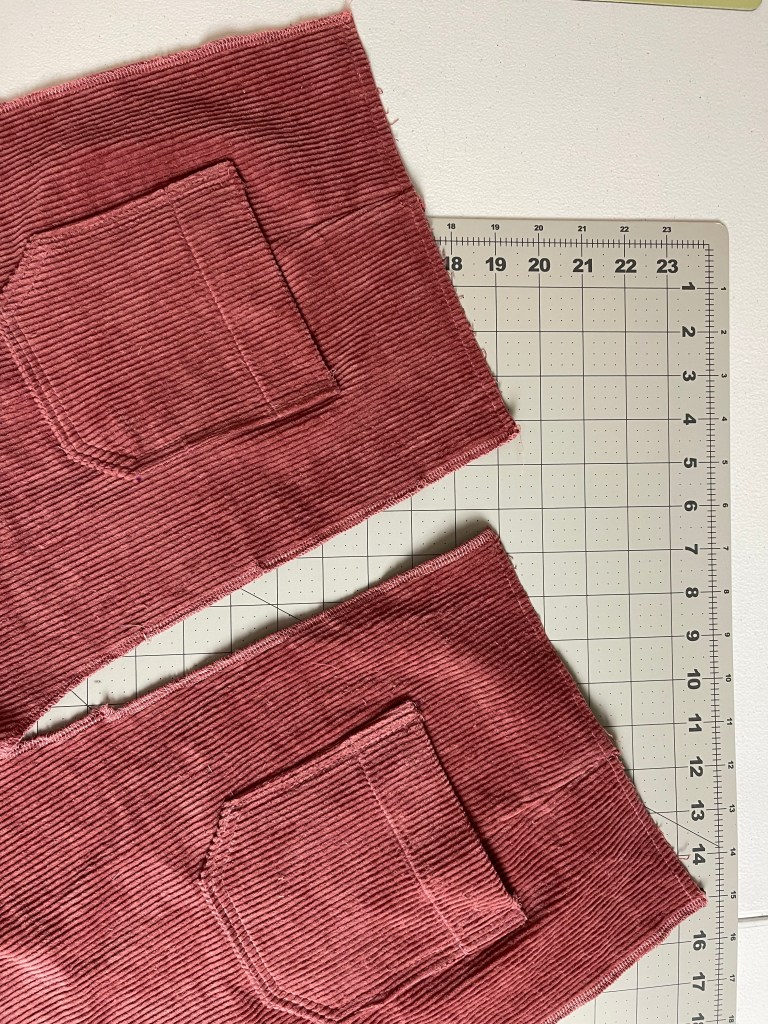
Next, I cut all my pieces and got to work on my pants. I worked a little out of order – just because I had some anxiety about the fly zip. Not gonna lie! I followed the steps all the way through to adding the darts then I worked on putting the pockets on the back and connecting the back pieces of the pants. I also worked on making the carriers as well. Then I went back to working in order.

Putting pants together is easy….fitting pants. Hold onto your seat, literally.
Because I have smaller legs and I prefer a more fitted look, I took extra measures with my pants to make sure they fit me just how I like them.

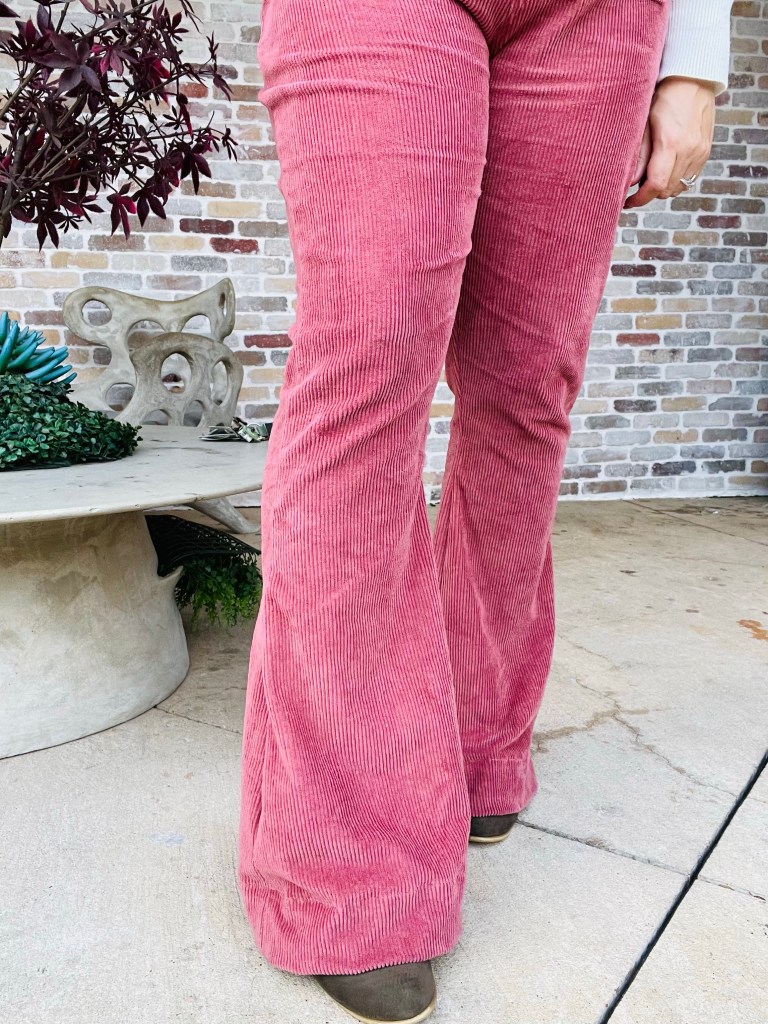
Starting at the hip and working down – but never touching the flared part – I incrementally took in the sides. I started with an 1 inch on each side, then 1/2 inch from then on. In total, I probably took about 2 inches out of each side. I made sure to try on my pants each time that I took them in. I also took in the inseam as well. Probably around 1 inch all together. Again, I made sure to never touch the flare part.

Once I felt satisfied with the fit, I worked on the facing, adding the carriers, the button and button hole. If you’re working with corduroy – be careful with the bulk in this area. I might suggest making the facing and even the fly guard into another lighter stretch material. My machine had a TIME with making the button hole on the corduroy. It was super thick!
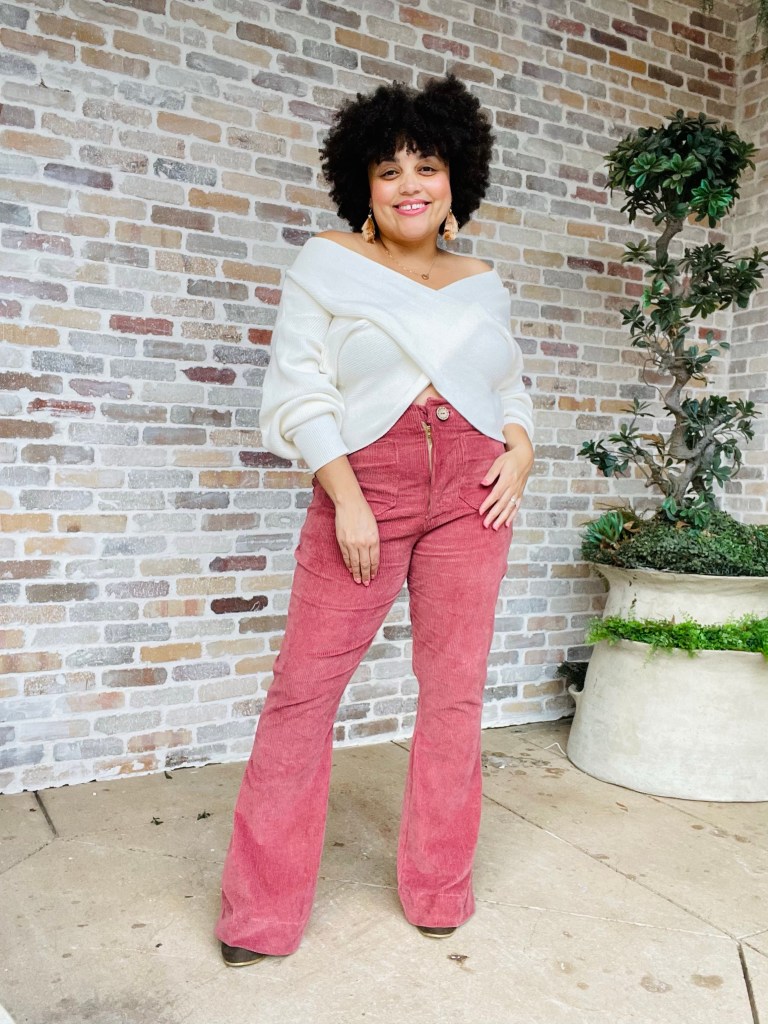
Last thing – I worked on my hem. I’m 5’1 so I always have to take off extra in this area. For these pants, I cut off 2 inches and then hemmed it 2 1/2 inches, so that I can wear my pants with heels. LOL!
Until next time! XO

