
Stop comparing. Do your thing.
I get so excited when I see others making really nice things. Then I race to my machine so I can make my version and I realize that it’s Fall and that the pattern that I’m making is about 2 years old and I’ve completely missed the wave. LOL.
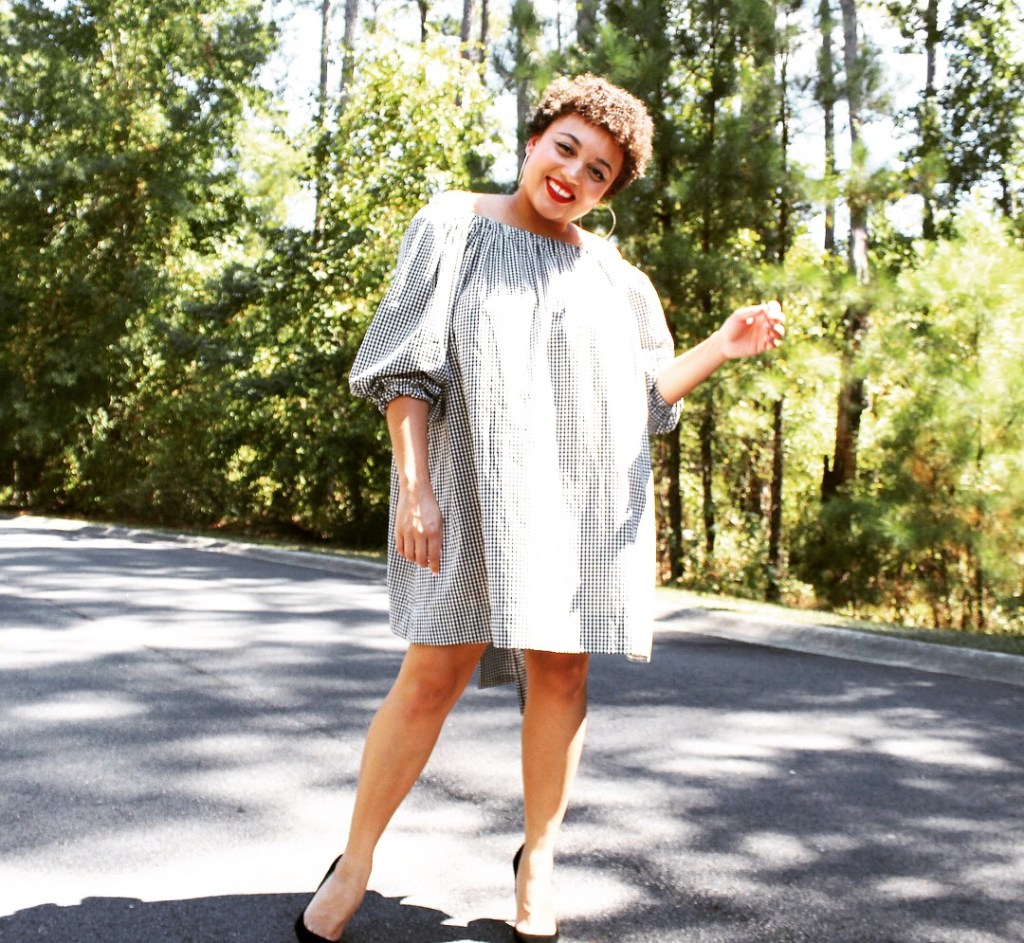
 This dress was one of those moments, but I insisted on making it anyway. Hey, there’s always next Spring right? And the “off-the-shoulder” moment is still going strong.
I love this dress, and in my process of making it, I realized that I cannot get wrapped up in who made what & when. Their (sewing) journey is different than mine. I’ve got to do my own thing. And that’s just what I did.
 I used gingham fabric that I bought from Walmart. I used about 4 yards due to a modification.
I added a bow in the back -for some drama. I wish that I had an amazing youtube video to link on adding a bow. But it was simply trial and error and a compilation of google searches for how to make and add a bow.
Some searches called for interfacing, others called for safety pins. Here’s what I did!
- I cut my fabric 15 inches wide by 98 inches long because I wanted the tails to match the same length of my dress. (You can make yours shorter or longer)
- Right sides together, I folded my fabric “hotdog style” and stitched together the longer sides to make a tube. By now, your bow should be 7.5 inches in width by 98 inches in length.
- I turned the fabric right side out, pressed it and hemmed the openings.
- I tied the long piece of fabric like I were to tie a shoe lace.
- Once I got my desired and symmetrical shape of the bow I hand stitched the bow and the knot as best as I could.
- Then I hand stitched the “Bunny ears” and “knot” to the dress.


Overall, this was an easy make. I probably could’ve made it in a day, but I wanted to hang out with friends and drink wine instead.
XO.
