
OMG! The day is here! My first giveaway on my blog! This is a win-win for everyone! Not only am I giving away this gorgeous DIY clutch -but I’m also including a tutorial so that you can make your own!
Here’s how the giveaway works:
- Subscribe to my blog!
- Follow me on Instagram @woolandflaxstudio
- Then comment under the picture of the clutch using #bemyclutch
And no worries – anyone who is already subscribed and following me can also participate! 🙂 I’ll announce the winner in my Instagram stories on Friday February 8th!

Before we jump into the tutorial I really want to share my creative process for the giveaway. Giveaways always give me anxiety because I’m always afraid that no one will participate. So I really wanted to make a bag that someone would love -regardless of if it’s free.


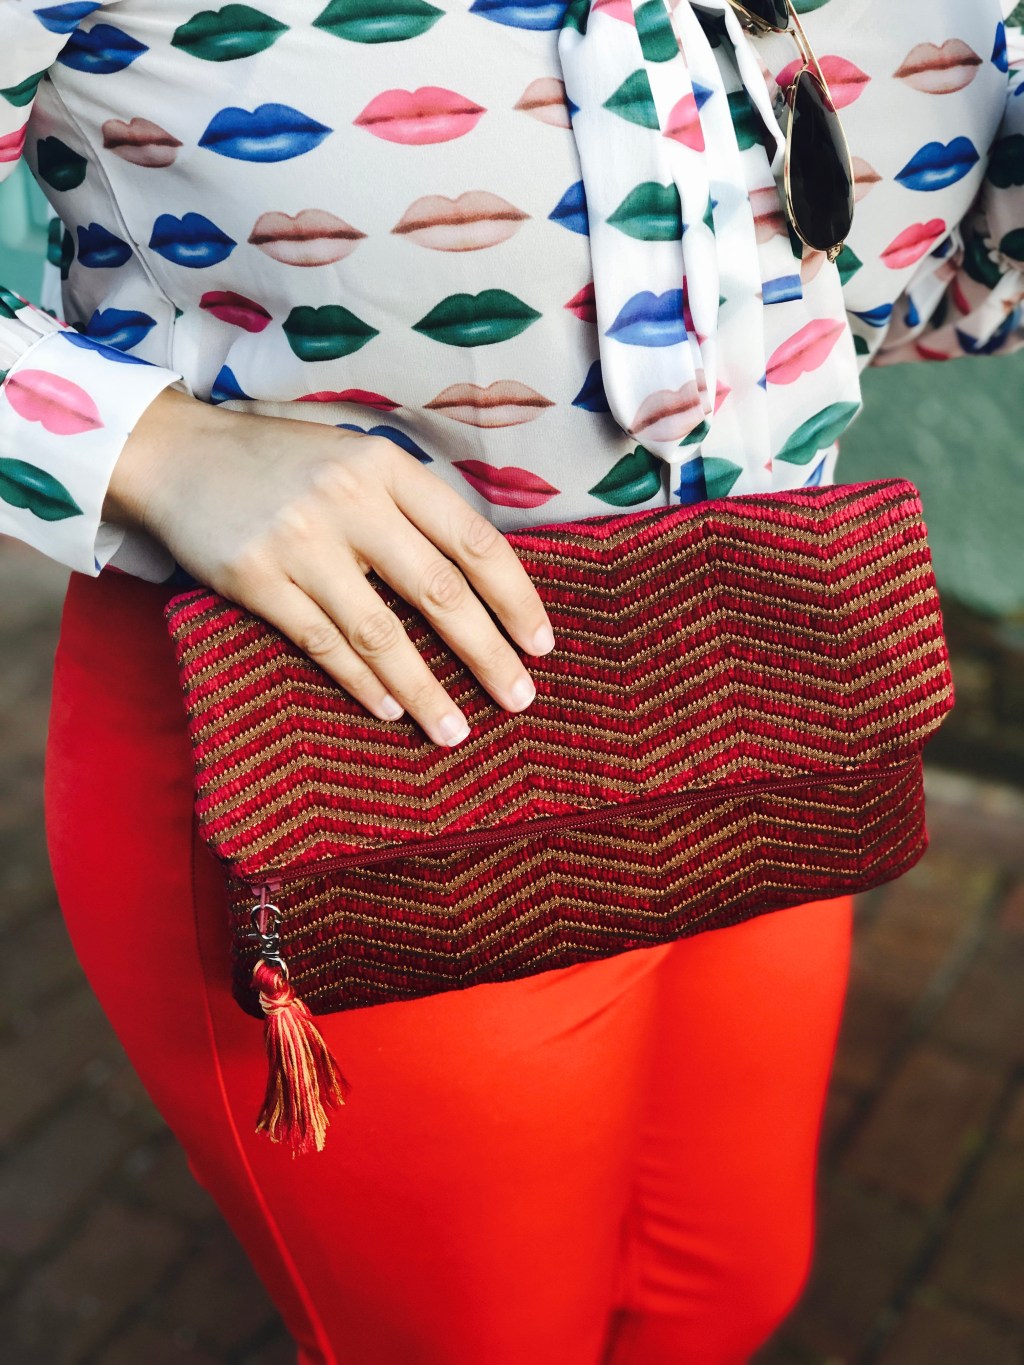
The fabric is truly one of a kind. My mom is always giving me remnants and sample pieces of fabric (she’s a decorator) and so I instantly thought of Valentine’s Day when I saw the color and texture of this fabric. I made the bag -and then the tassel came later when I saw how cute Tabitha Sewer’s tassel bag turned out. So at that point I was on a mission to figure out how to make a tassel that complimented this wonderful fabric. Here’s what you’re going to need:
Supplies:
- Fabric for the outside of the clutch (Sorry, I have no information on my fabric. It’s a remnant that my mom gave me.)
- Fabric for the lining.
- Ruler
- 12 inch zipper
- Pellon 808 interfacing
- Matching thread
- Serger machine, pinking shears or a machine with a zig zag stitch
- Embroidery thread
- Lobster clasp or round key ring
- Cut your lining and outer fabric at 11 inches x 11 inches.

- If your fabric tends to snag and shred, then you will need to secure the edges with your serger, pinking shears or a zig zag stitch. Then apply interfacing to the wrong side of your fabric.
- With right sides together, and the right side of the zipper facing the outer fabric, sew your pieces together. Complete this for both sides.

- Then, using your blind hem foot, top stitch both sides of the bag.Unzip your bag half way and pin along both sides of your bag.


- Be sure to start at the top of your lining and sew all the way down your bag, slowly passing over the zipper. Pivot at the corners. Be sure to clip your corners to reduce bulk.


- Turn your bag right side out. Secure your lining by pinning the unfinished edges to the inside. Sew those edges together and you’re done!Tassel zipper chain (optional):


- Buy 1 or 2 colors of embroidery thread. Grab a lobster clasp or key ring.

- Loop it around your hand as shown. You may make this a bigger loop depending on how long you will like your final tassel to be. There is no set number on how many times you should loop it around.Remove the bunch from your hand and loop it through the lobster clasp or key ring.


- Fold the bunch in half and take one strand (or two, if you’re using contrasting colors) and place it parallel to the lobster clasp as shown. Do not cut your strand yet.


- Now make a loop like in the picture. Then begin securing the bunch at the top by winding the thread around it. Be sure to keep an eye on this loop.

- Cut your strand and put it through the loop as seen below.Gently pull from both loose ends until the loop disappears.


- Cut the strands. Now your tassel is secure.

- Cut the bottom of your tassel to create a fringe. Attach it to your zipper!


