

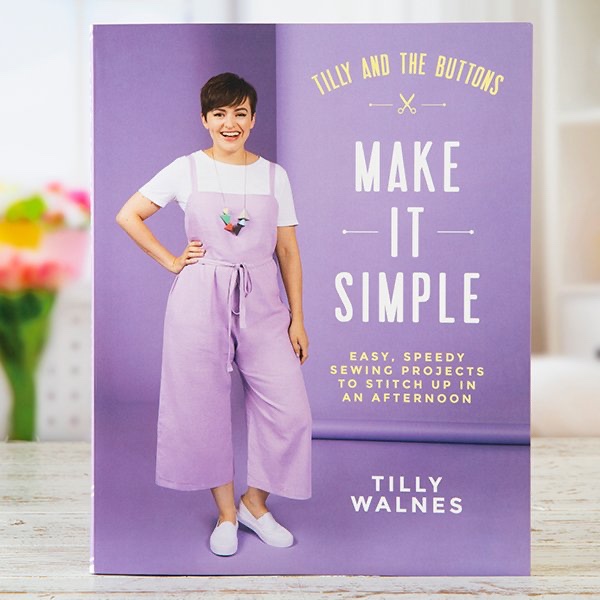
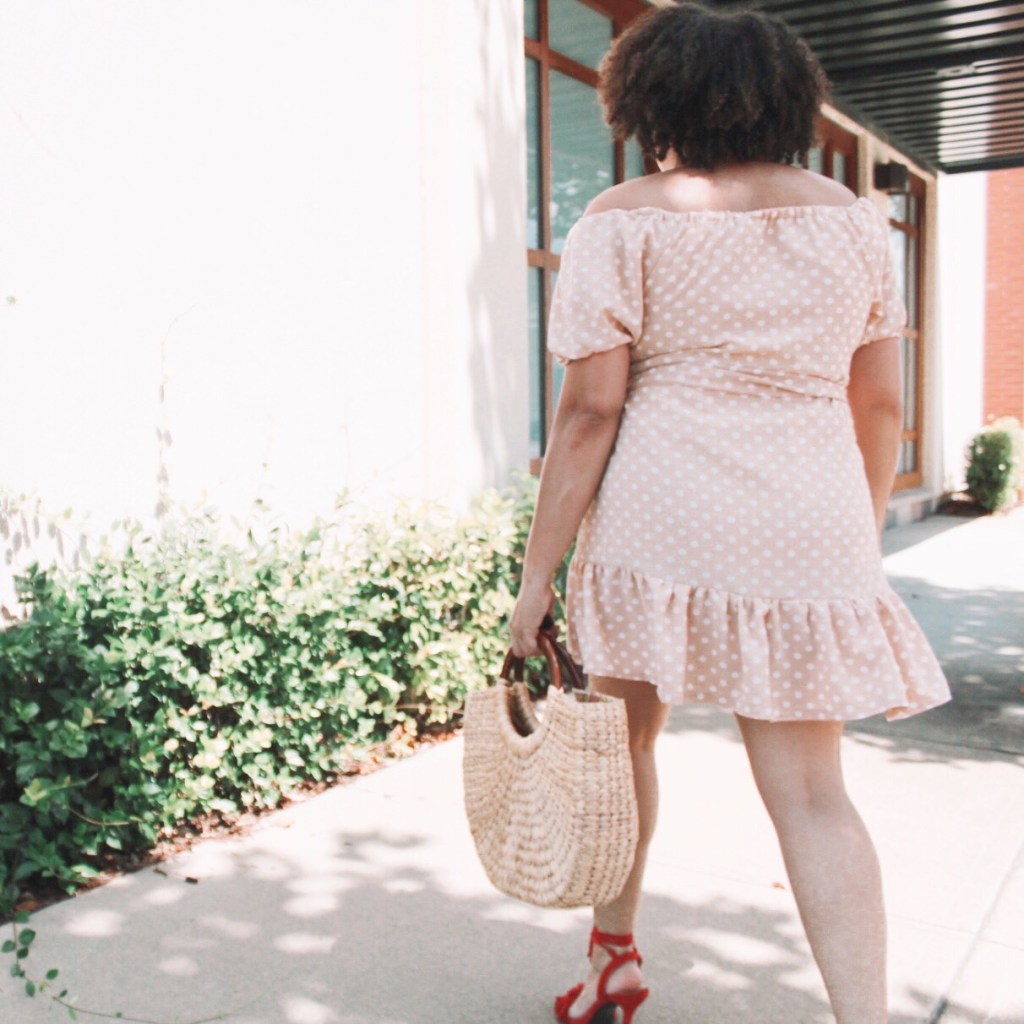
Hello friends! Would you believe me if I told you that this is the Suki dress pattern from Tilly & the Button’s latest book “Make it Simple”? I know, it’s crazy right.

To be fair, this dress was a completely different idea and color – but when that didn’t work out, I had to start from scratch again.
Here’s what you’ll need to get this look!
Supplies:
- “Make it Simple” book by TATB
- Tracing paper
- A commercial pattern (optional)
- Quilters ruler
- 2.5 yards of fabric
- Matching Thread
- 1/2 inch wide elastic (2-3 yards)
- Sewing machine
Here’s what you need to know:
- We’ll be using a 5/8 seam allowance for the tutorial.
- Skill level: Advanced beginner
Okay, so for the top part of the bodice, I actually graded from a commercial pattern top and kept the shape of the dress bodice. I also retraced the sleeves from the commercial pattern so that it will all match. Again, this is an optional step. I don’t personally enjoy drafting but if you can draft this part then definitely go for it. You can also go on YouTube to find a tutorial.
2. I also graded an inch out of the dress from TATB so that it is slightly A-Line. You may make your bodice as long or as short as you want, it’s based on your height and comfort. A tip: I hold the flat pattern piece up to the front of my body to gauge where I would like the hem to stop.

3. Follow the directions in the book for the carrier and the sash.
4. Draft your ruffle hem. The width is 7 3/4 inches (including the seam allowance) and the length is the same length as the bottom of your dress pattern piece. Cutting directions: Cut 2 pieces on the fold.

5. Sew together your bodice pieces right sides together. Finish the side seams.
6. Sew both of your sleeves edge to edge, matching notches. Finish the seams.
7. Sew your sleeve and bodice together. Finish the seams.
8. Add your carriers per the instructions from the book.
9. Make your sash per the instructions from the book.
10. Sew together your ruffle hem pieces and press the seam allowances open. Finish the seams.
11. Using your preferred gathering method, add your gathers. I used 2 rows of baste stitching and matched up my side seams on my dress and hem.
12. Measuring elastic: Wrap your piece of elastic around your torso and shoulders and add an inch. Cut the elastic. For the sleeves: wrap your piece of elastic around your bicep and add an inch. Cut the elastic.
13. Finish the edges of your sleeves and the top opening of your bodice with a zig zag stitch or serger.
14. Using a single foldover at 5/8 inch seam allowance sew the top opening of your bodice. Keep a 1-2 inch opening to feed through your elastic. You can use a safety pin for this step. Repeat this same step for both sleeve edges.
15. Hem your ruffle skirt hem & finish!

