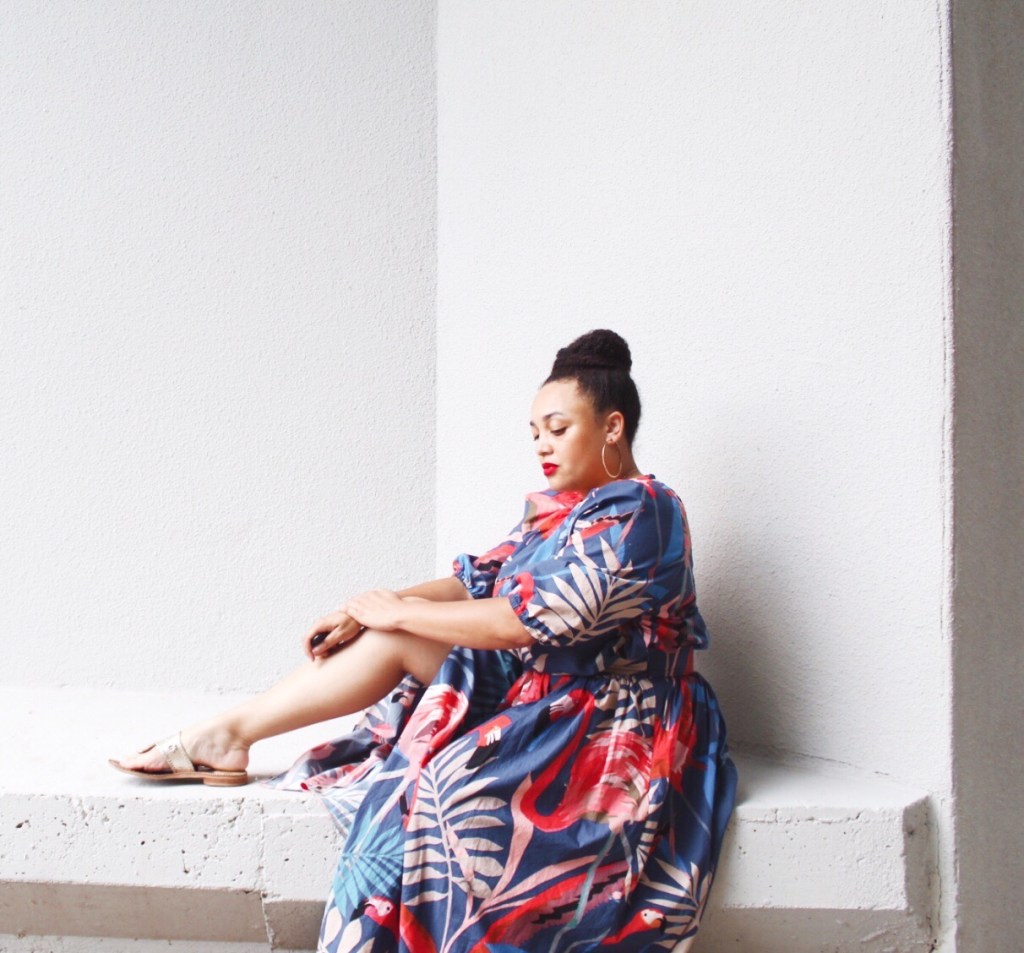
Let me just put a disclaimer out there, Summer is over when I say so! LOL. Or at least until temperatures drop. I mean, we barely got to be outside anyway, so I’m going to let this season stretch for as long as possible. My fabric is definitely Summer/resort vibes all the way, but I discovered it late in the season and fell in love at first sight!

It’s a cotton poplin from Mood Fabrics (style # 119318). I ordered 4 yards and made this coordinated set. Depending on how tall you are, you’ll probably need anywhere between 4–6 yards. Plus, it’s a directional print so there is no forgiveness in the cutting area. Like. None.
Here’s some other tools you’ll need for your entire coordiated set:
- 4-6 yards of poplin or quilting fabric
- 1 yard stick
- Tailors chalk
- 16 inch invisible zipper
- Coordinating thread
- Interfacing
- Roscoe blouse (optional for the top)
- 1/2 inch elastic
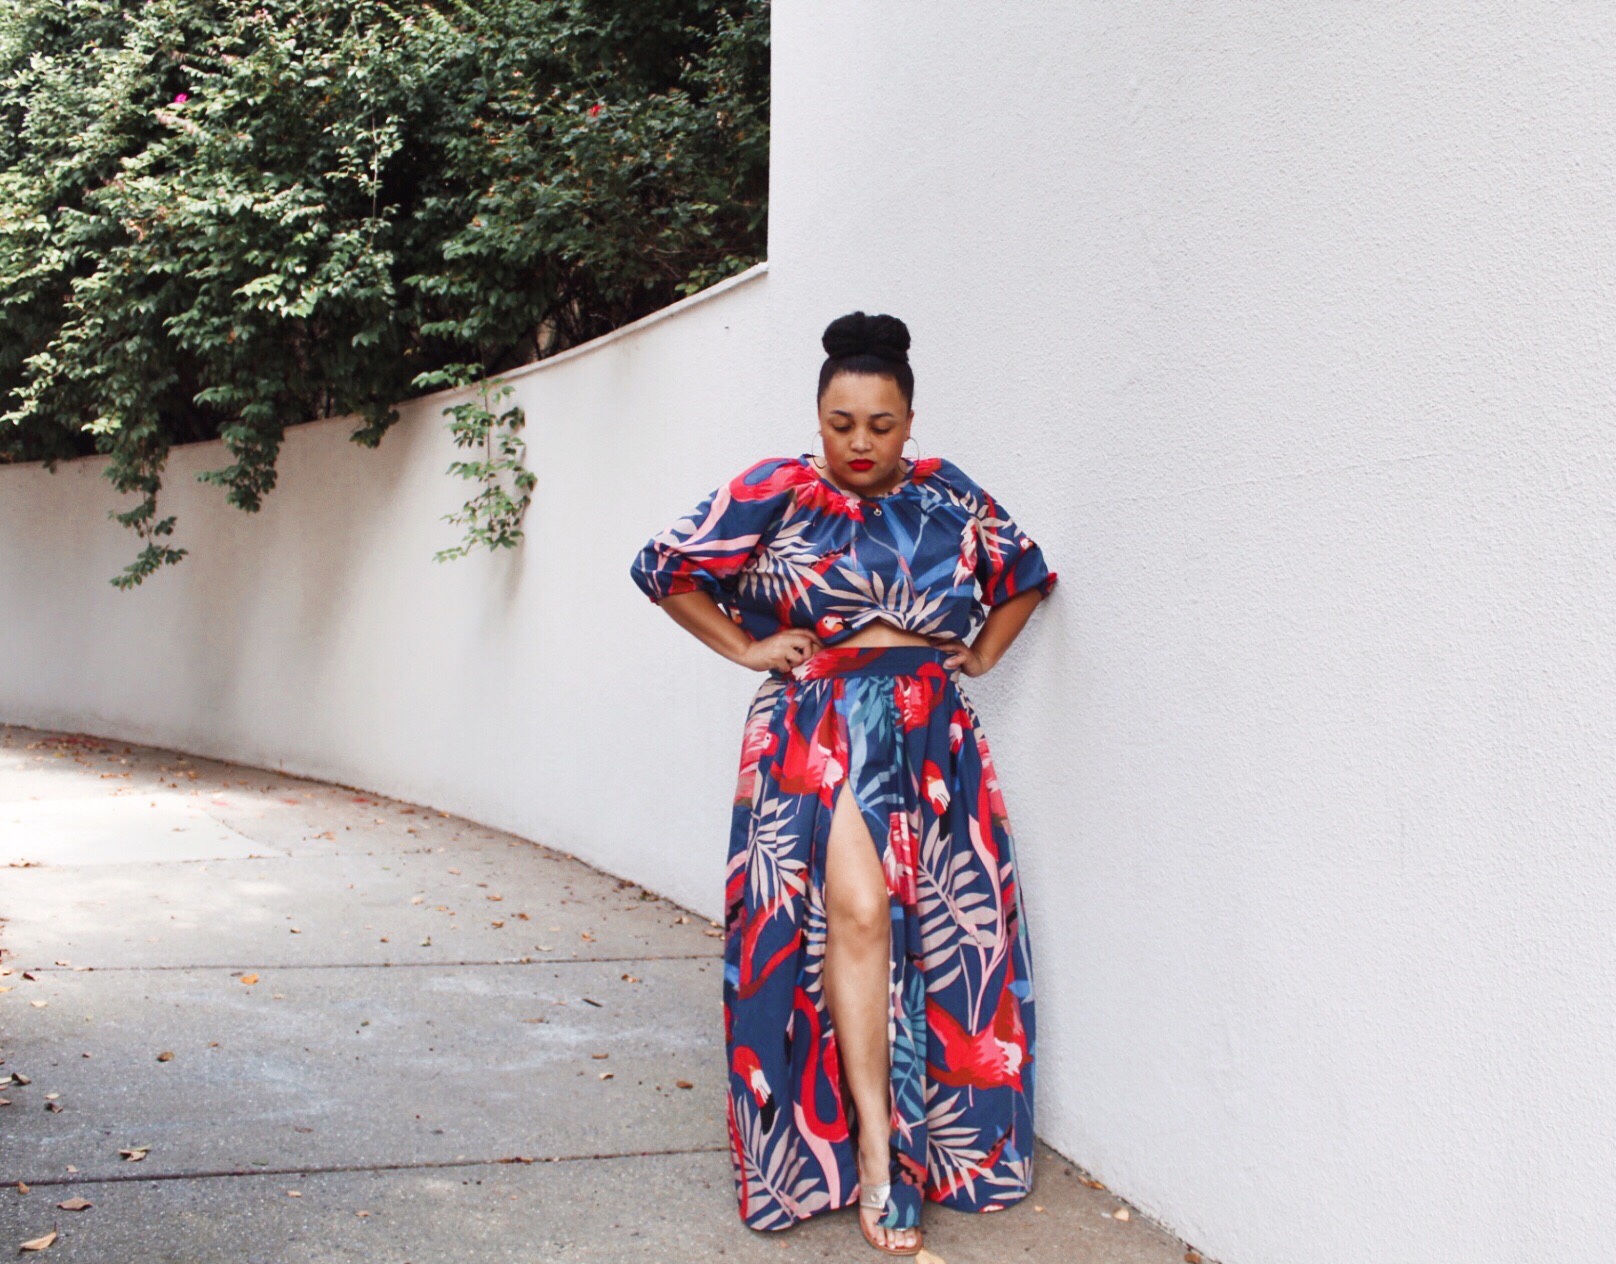
So first let’s talk about the top. I knew I wanted my shoulders covered for this look. I used the Roscoe blouse by True Bias. She has a tutorial on how to make a cropped top here. I made a few modifications to this and kept some the same. Here they are:
- Adjusted the pattern pieces. I raised the sleeve pattern by 4 inches and the bodice by 7 inches.
- I did not use the ruffle, but instead used a 3/4 inch seam allowance and added 1/2 inch elastic to the bottom of the bodice.
- I closed the neckline and used bias binding all the way around the neckline.
TA-DA! Done.

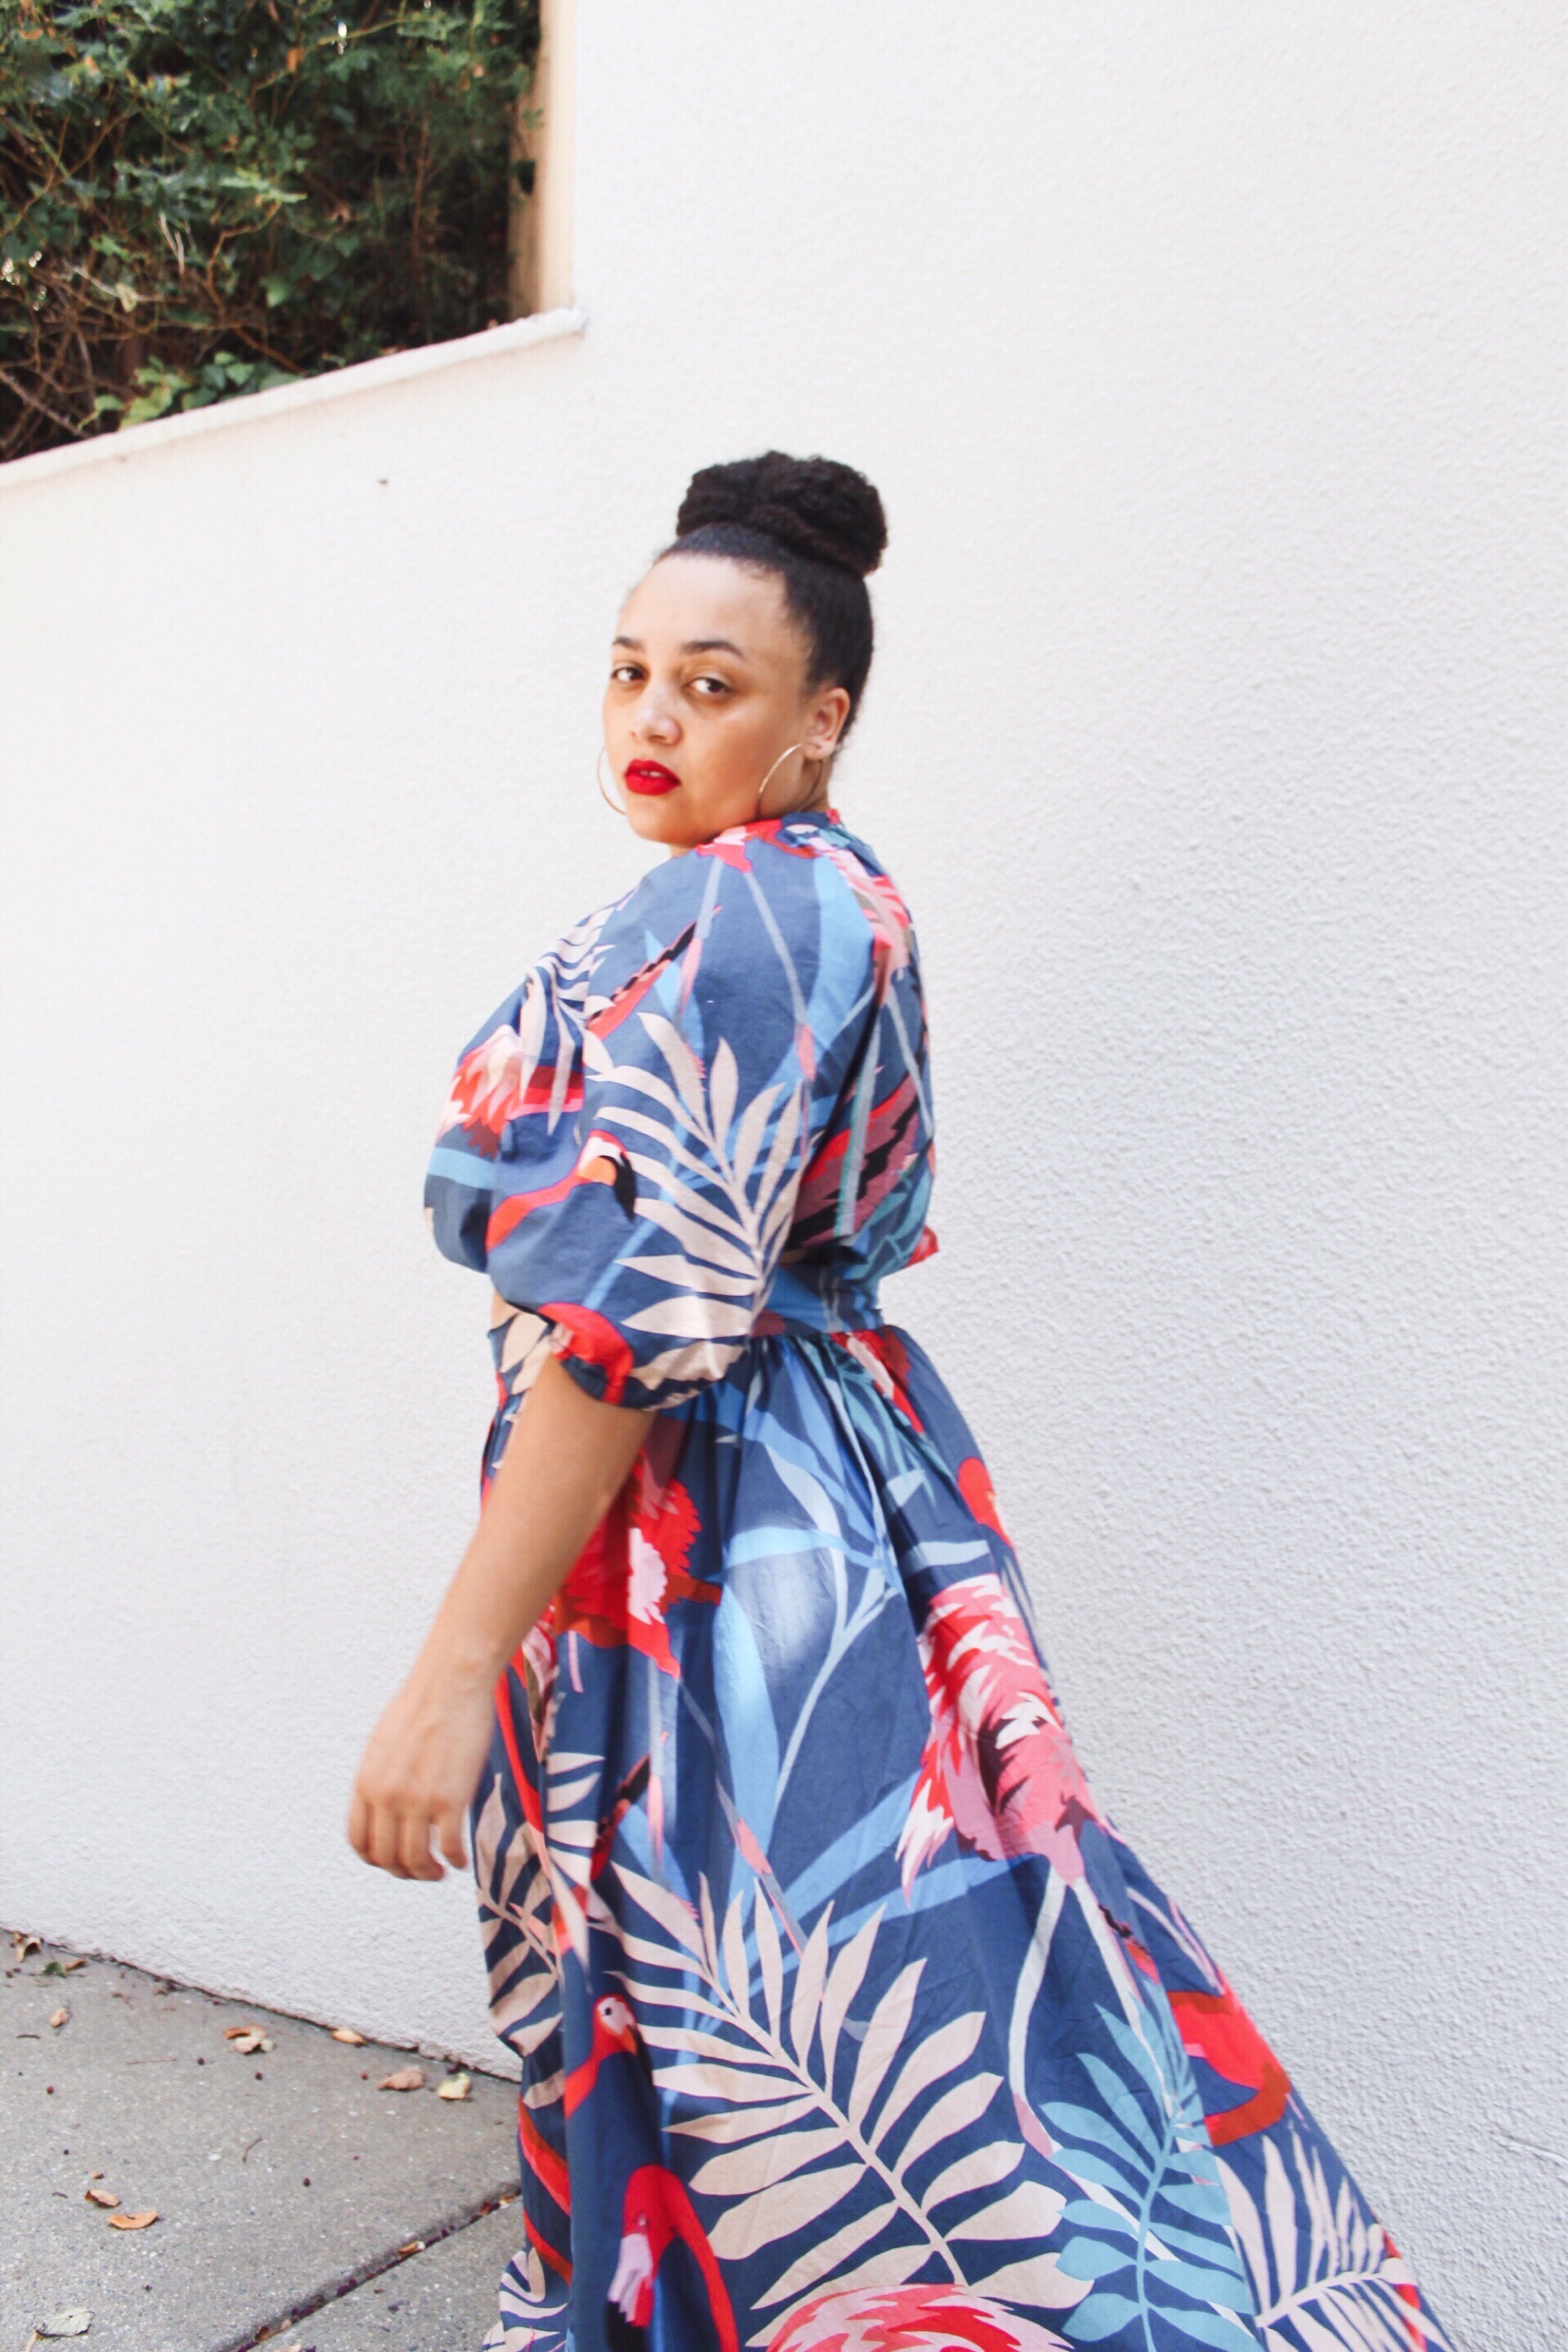
I self drafted the skirt. First I measured my waist around my smallest part plus 1 inch for seam allowance. I measured from the smallest part of my waist down to my desired length, plus 1 inch for seam allowance.
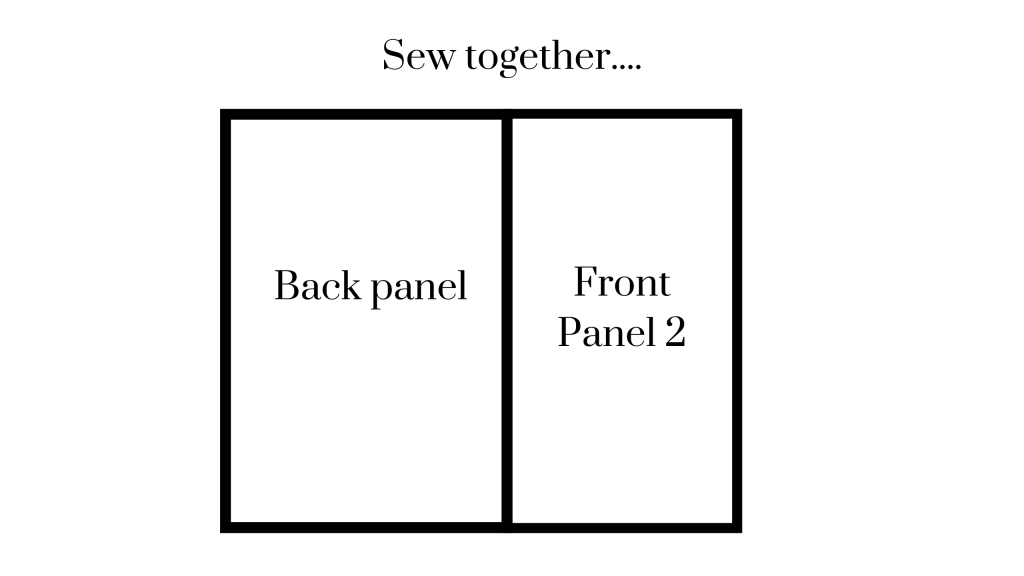
Next I made panels for my skirt. See below for measurements and examples.

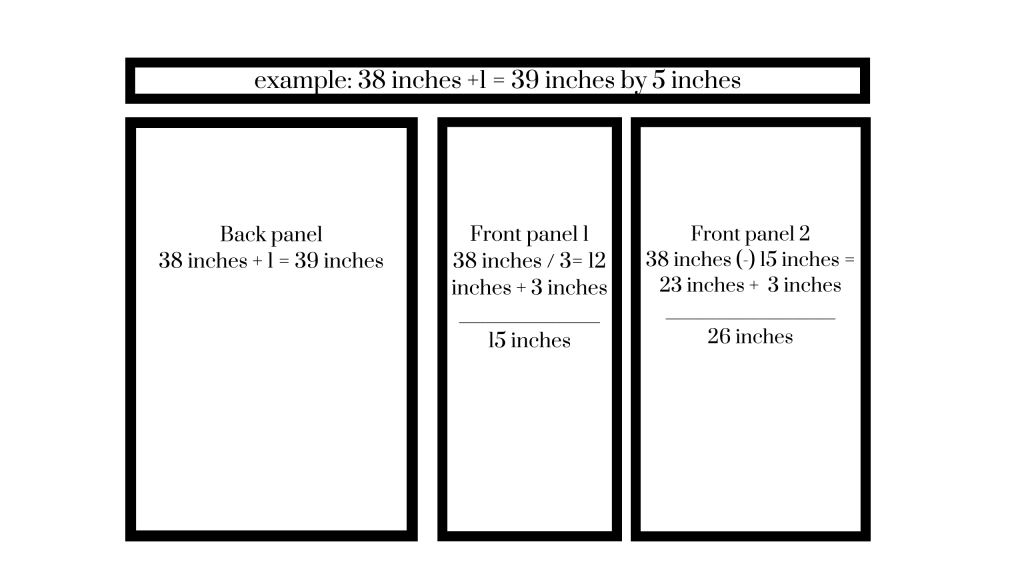
Next serge or finish the sides of your panel pieces. Then using a 1/2 inch seam allowance, sew together the back panel and the front panel. Be sure to baste the first 12 inches of the seam allowance since this is where you’ll need to insert your zipper. Iron your seams open.
Next repeat those steps for the other front panel (2) and press the seams open. The red line indicates your basting stitch for your zipper insert.
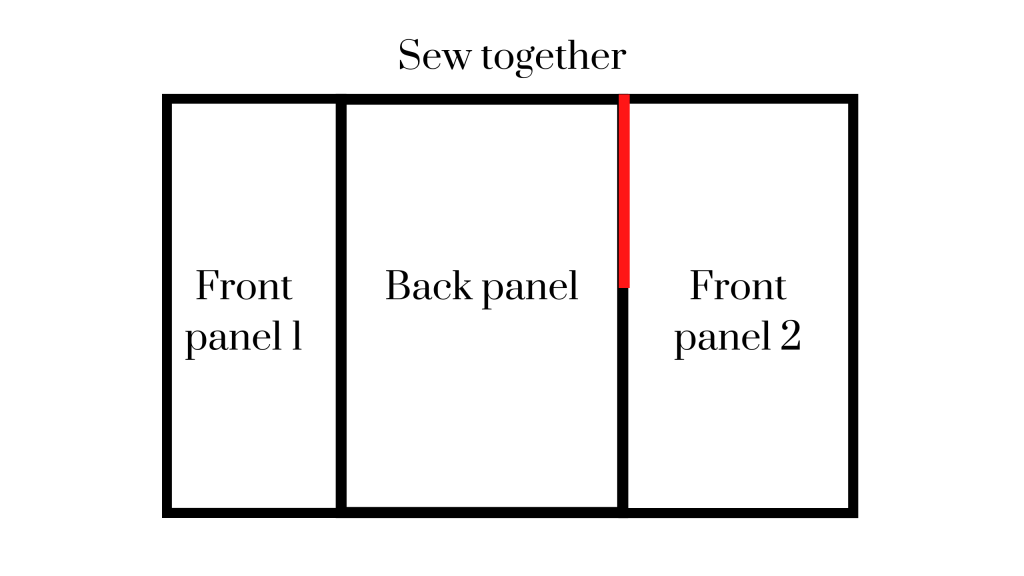
Using your preferred gathering method be sure to gather across all three panels. I stitched 3 rows of basting across my skirt. Right sides together sew your front panel 1 to front panel 2. At this point, it should start to form like a skirt. This is your slit, so feel free to sew a straight stitch and make it as high or low as you want.
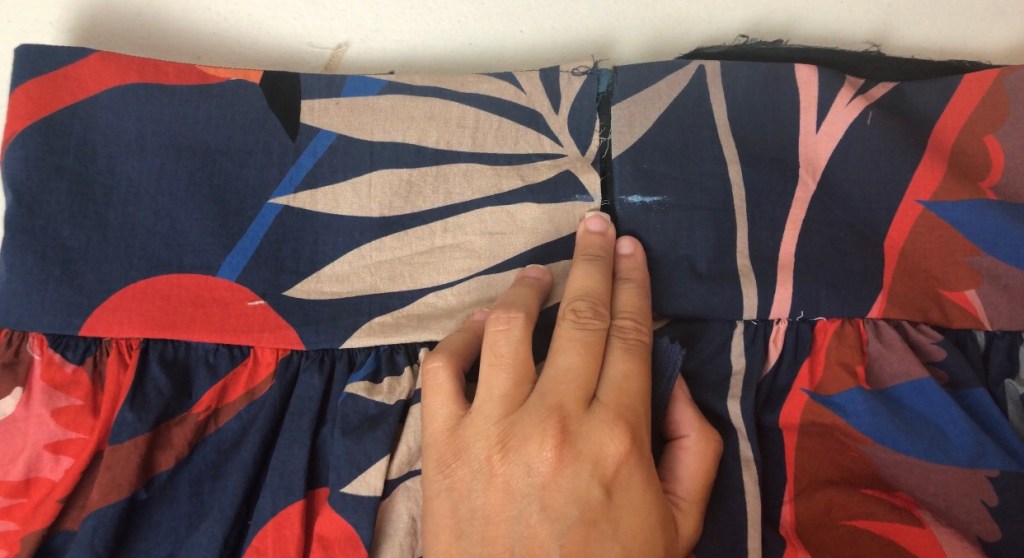
After you have gathered your skirt all the way across, unpick the basted stitch for your zipper.
Next interface your waistband and attach it to the top of your skirt with a 1/2 inch seam allowance. The opening of your waistband should be flush with the basted zipper seam that you just unpicked.
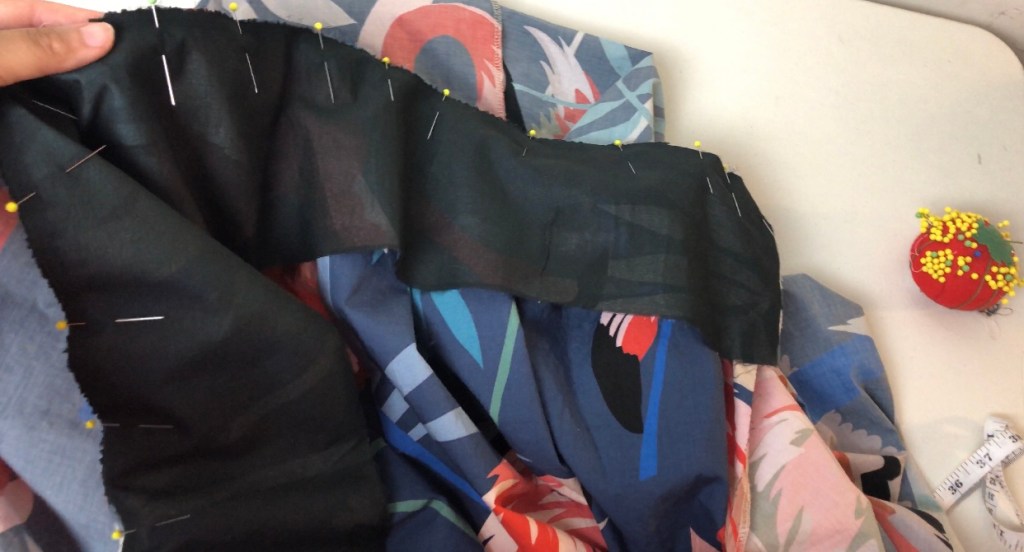
Press your waistband seam allowance up, and make a 1/2 baste stitch at the top of the waistband (the edge not attached).
On the opening of your waistband mark 2 inches up. This is the beginning of your invisible zipper.
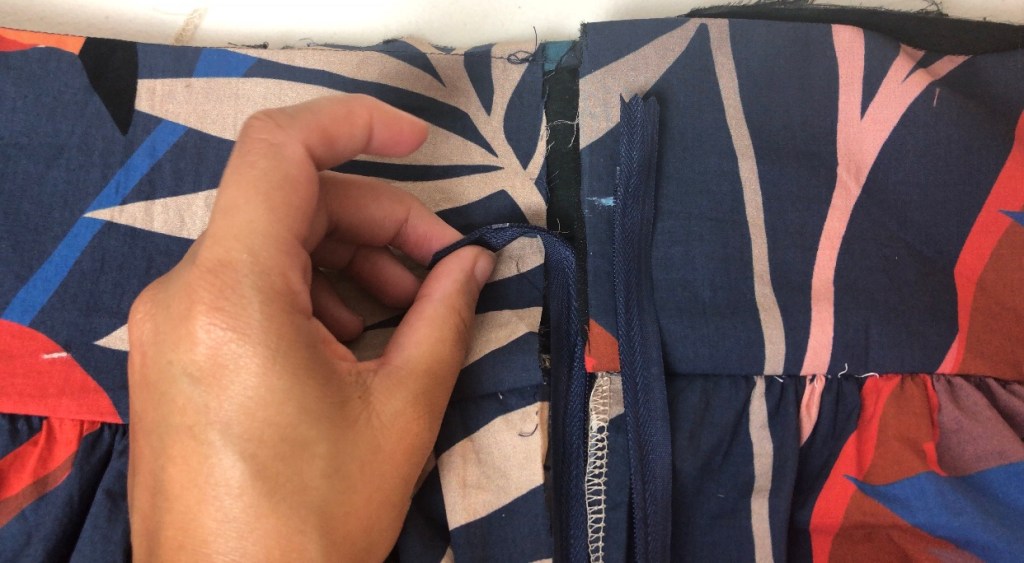
Attach your zipper to your skirt. Fold the waistband openings onto themselves with the half inch basted stitch folded up and stitch close. You may choose to slip stitch or stitch in the ditch to close your waist band on the inside of your skirt.

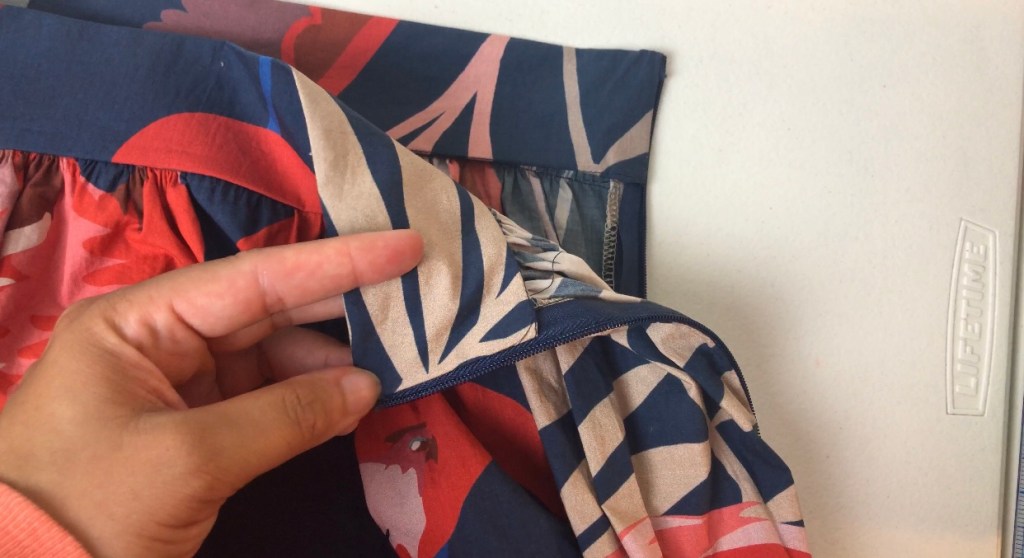
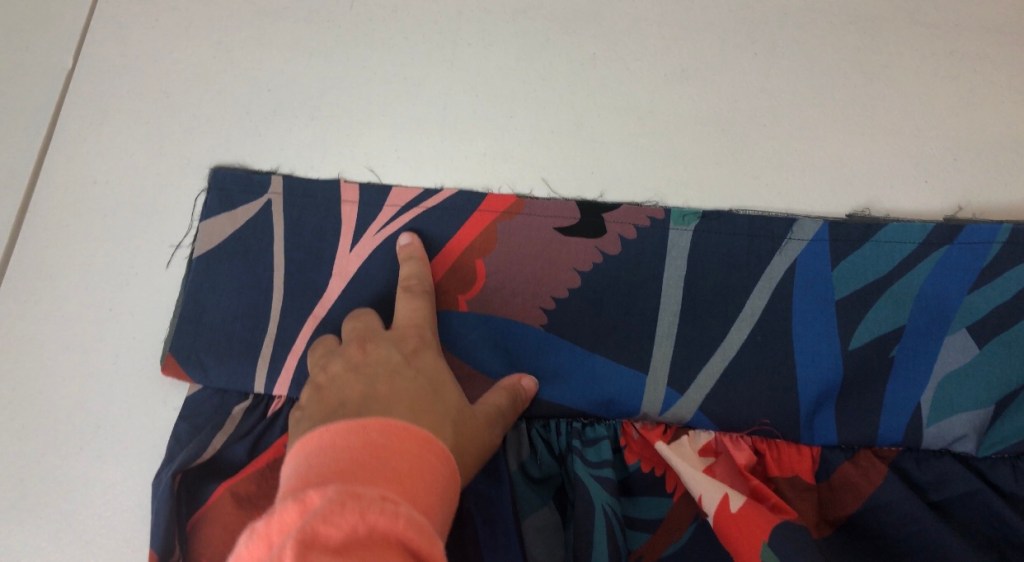
Hem your slit and the bottom. Finished!