
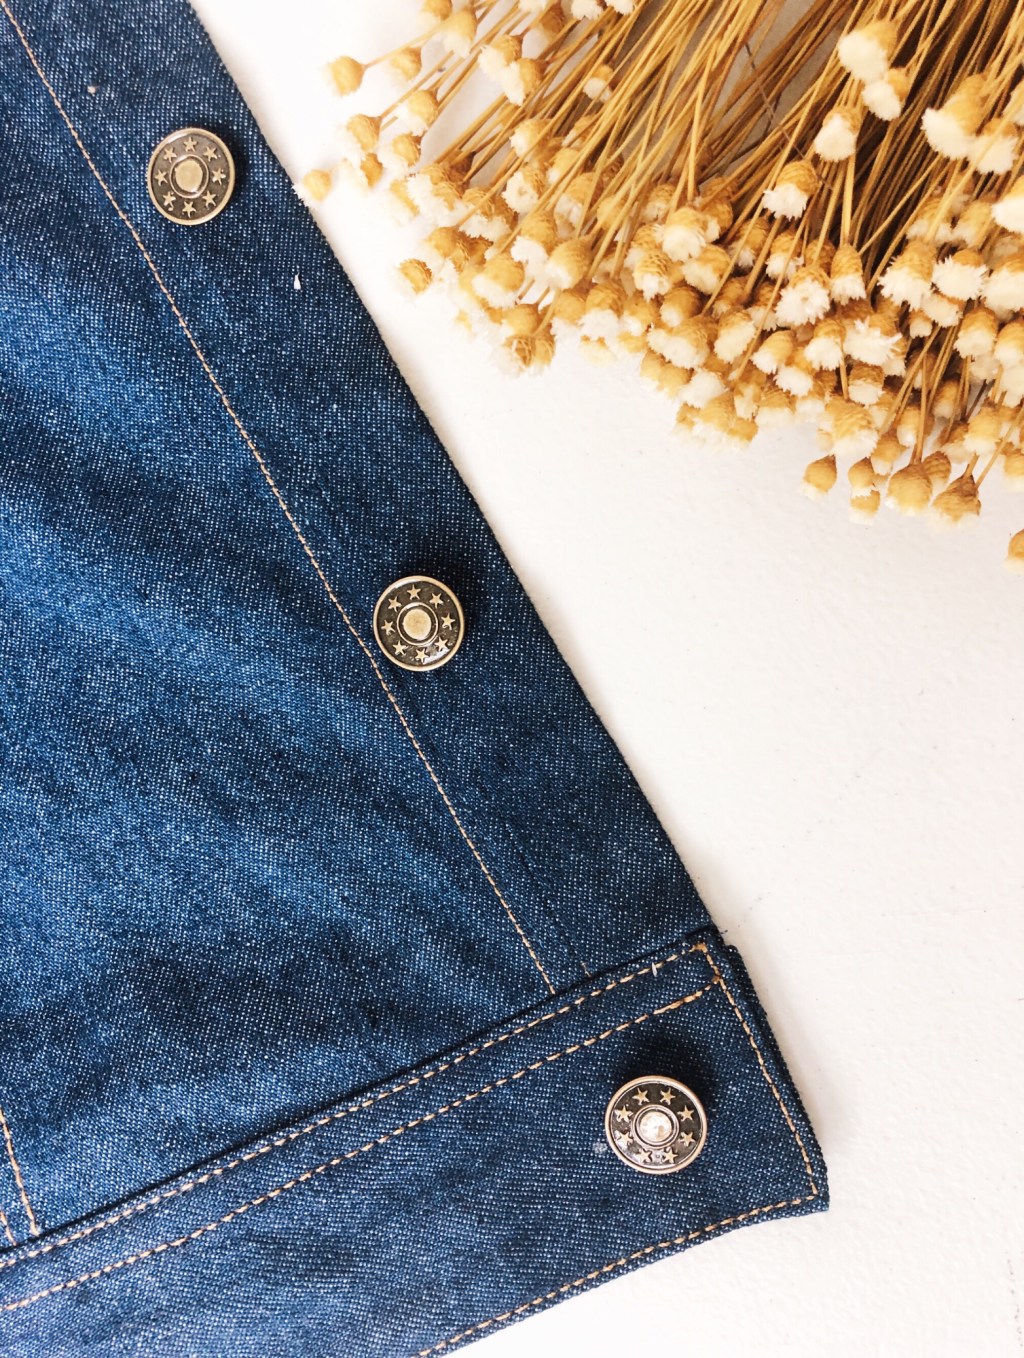
Here it is! The second part of my “Sewing with denim” series and today I’m sharing a really easy and stress free way to add heavy duty snaps to any denim project. I know that adding snaps or buttons can give you anxiety. And the worst feeling in the world is to complete your project with all that beautiful top stitching just to have your project ruined by a terrible install experience. I’ve been there -even after doing a test run.
Here’s what you need:
- Your denim project
- Denim snaps
- Awl
- Pen/marker or chalk
- Hammer
- Hard, flat surface
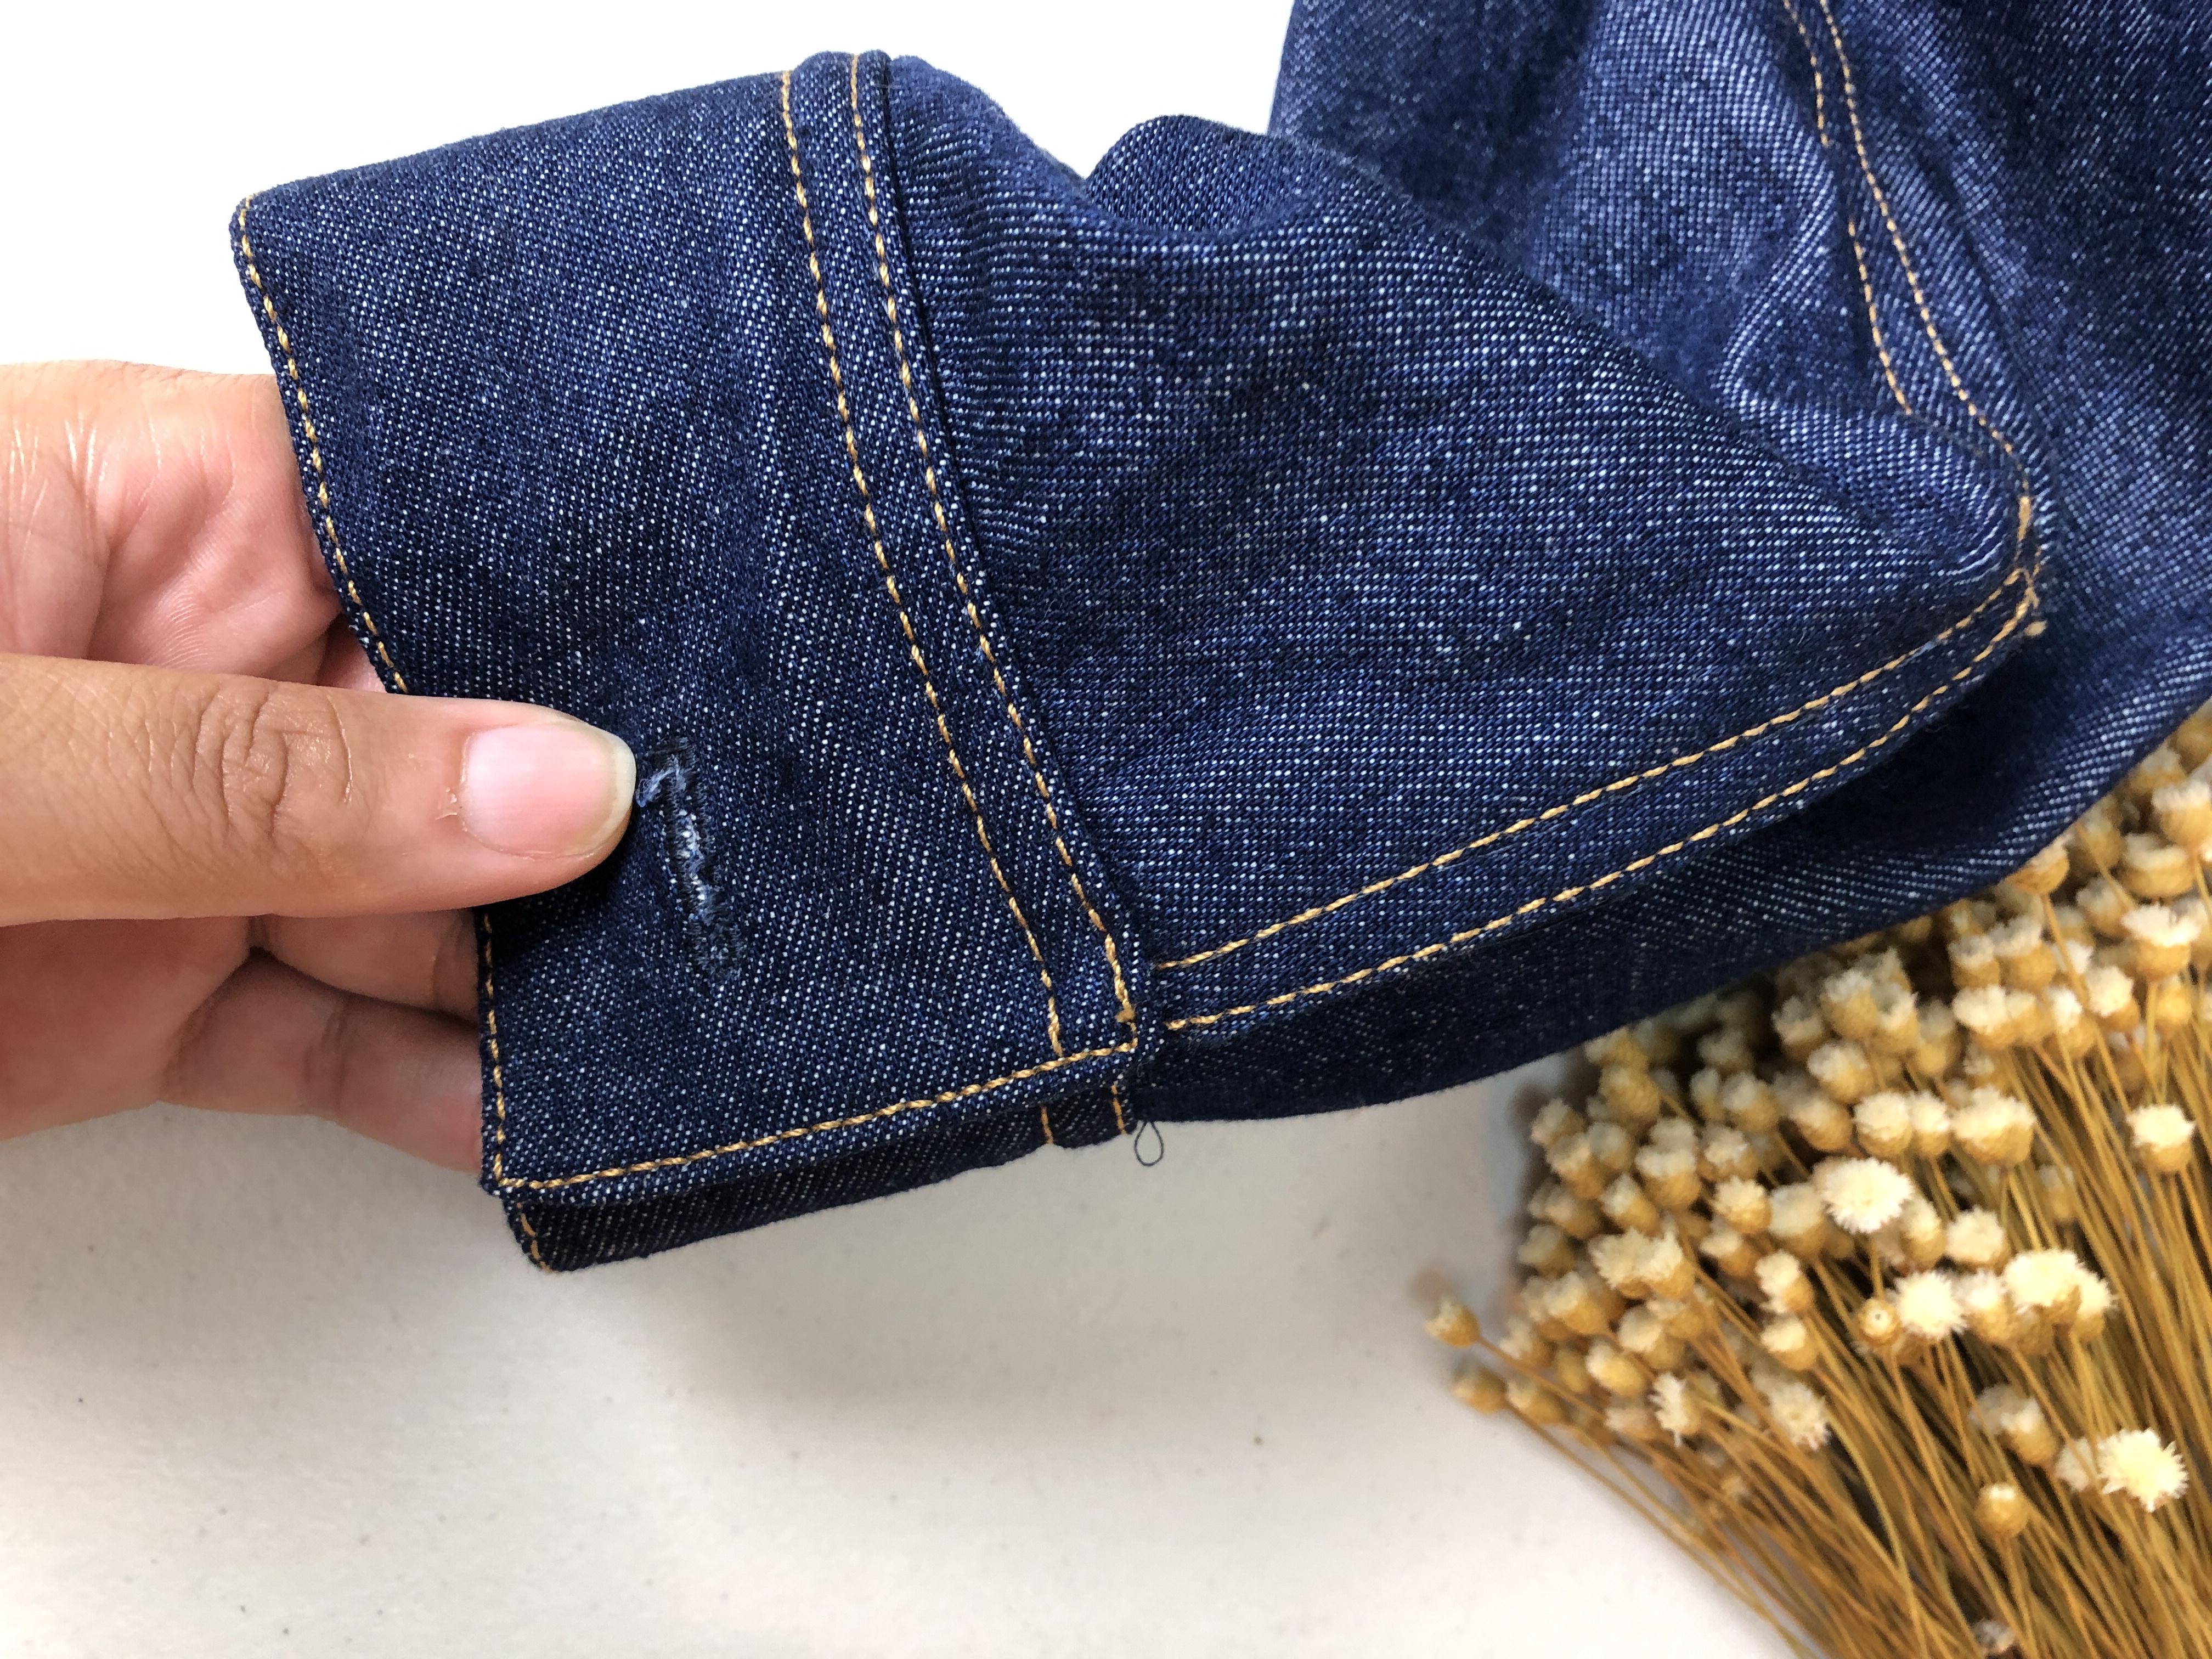
First overlap your buttonhole over the area that you wish to place your snap. Mark a small dot in that area using a pen or a marker.

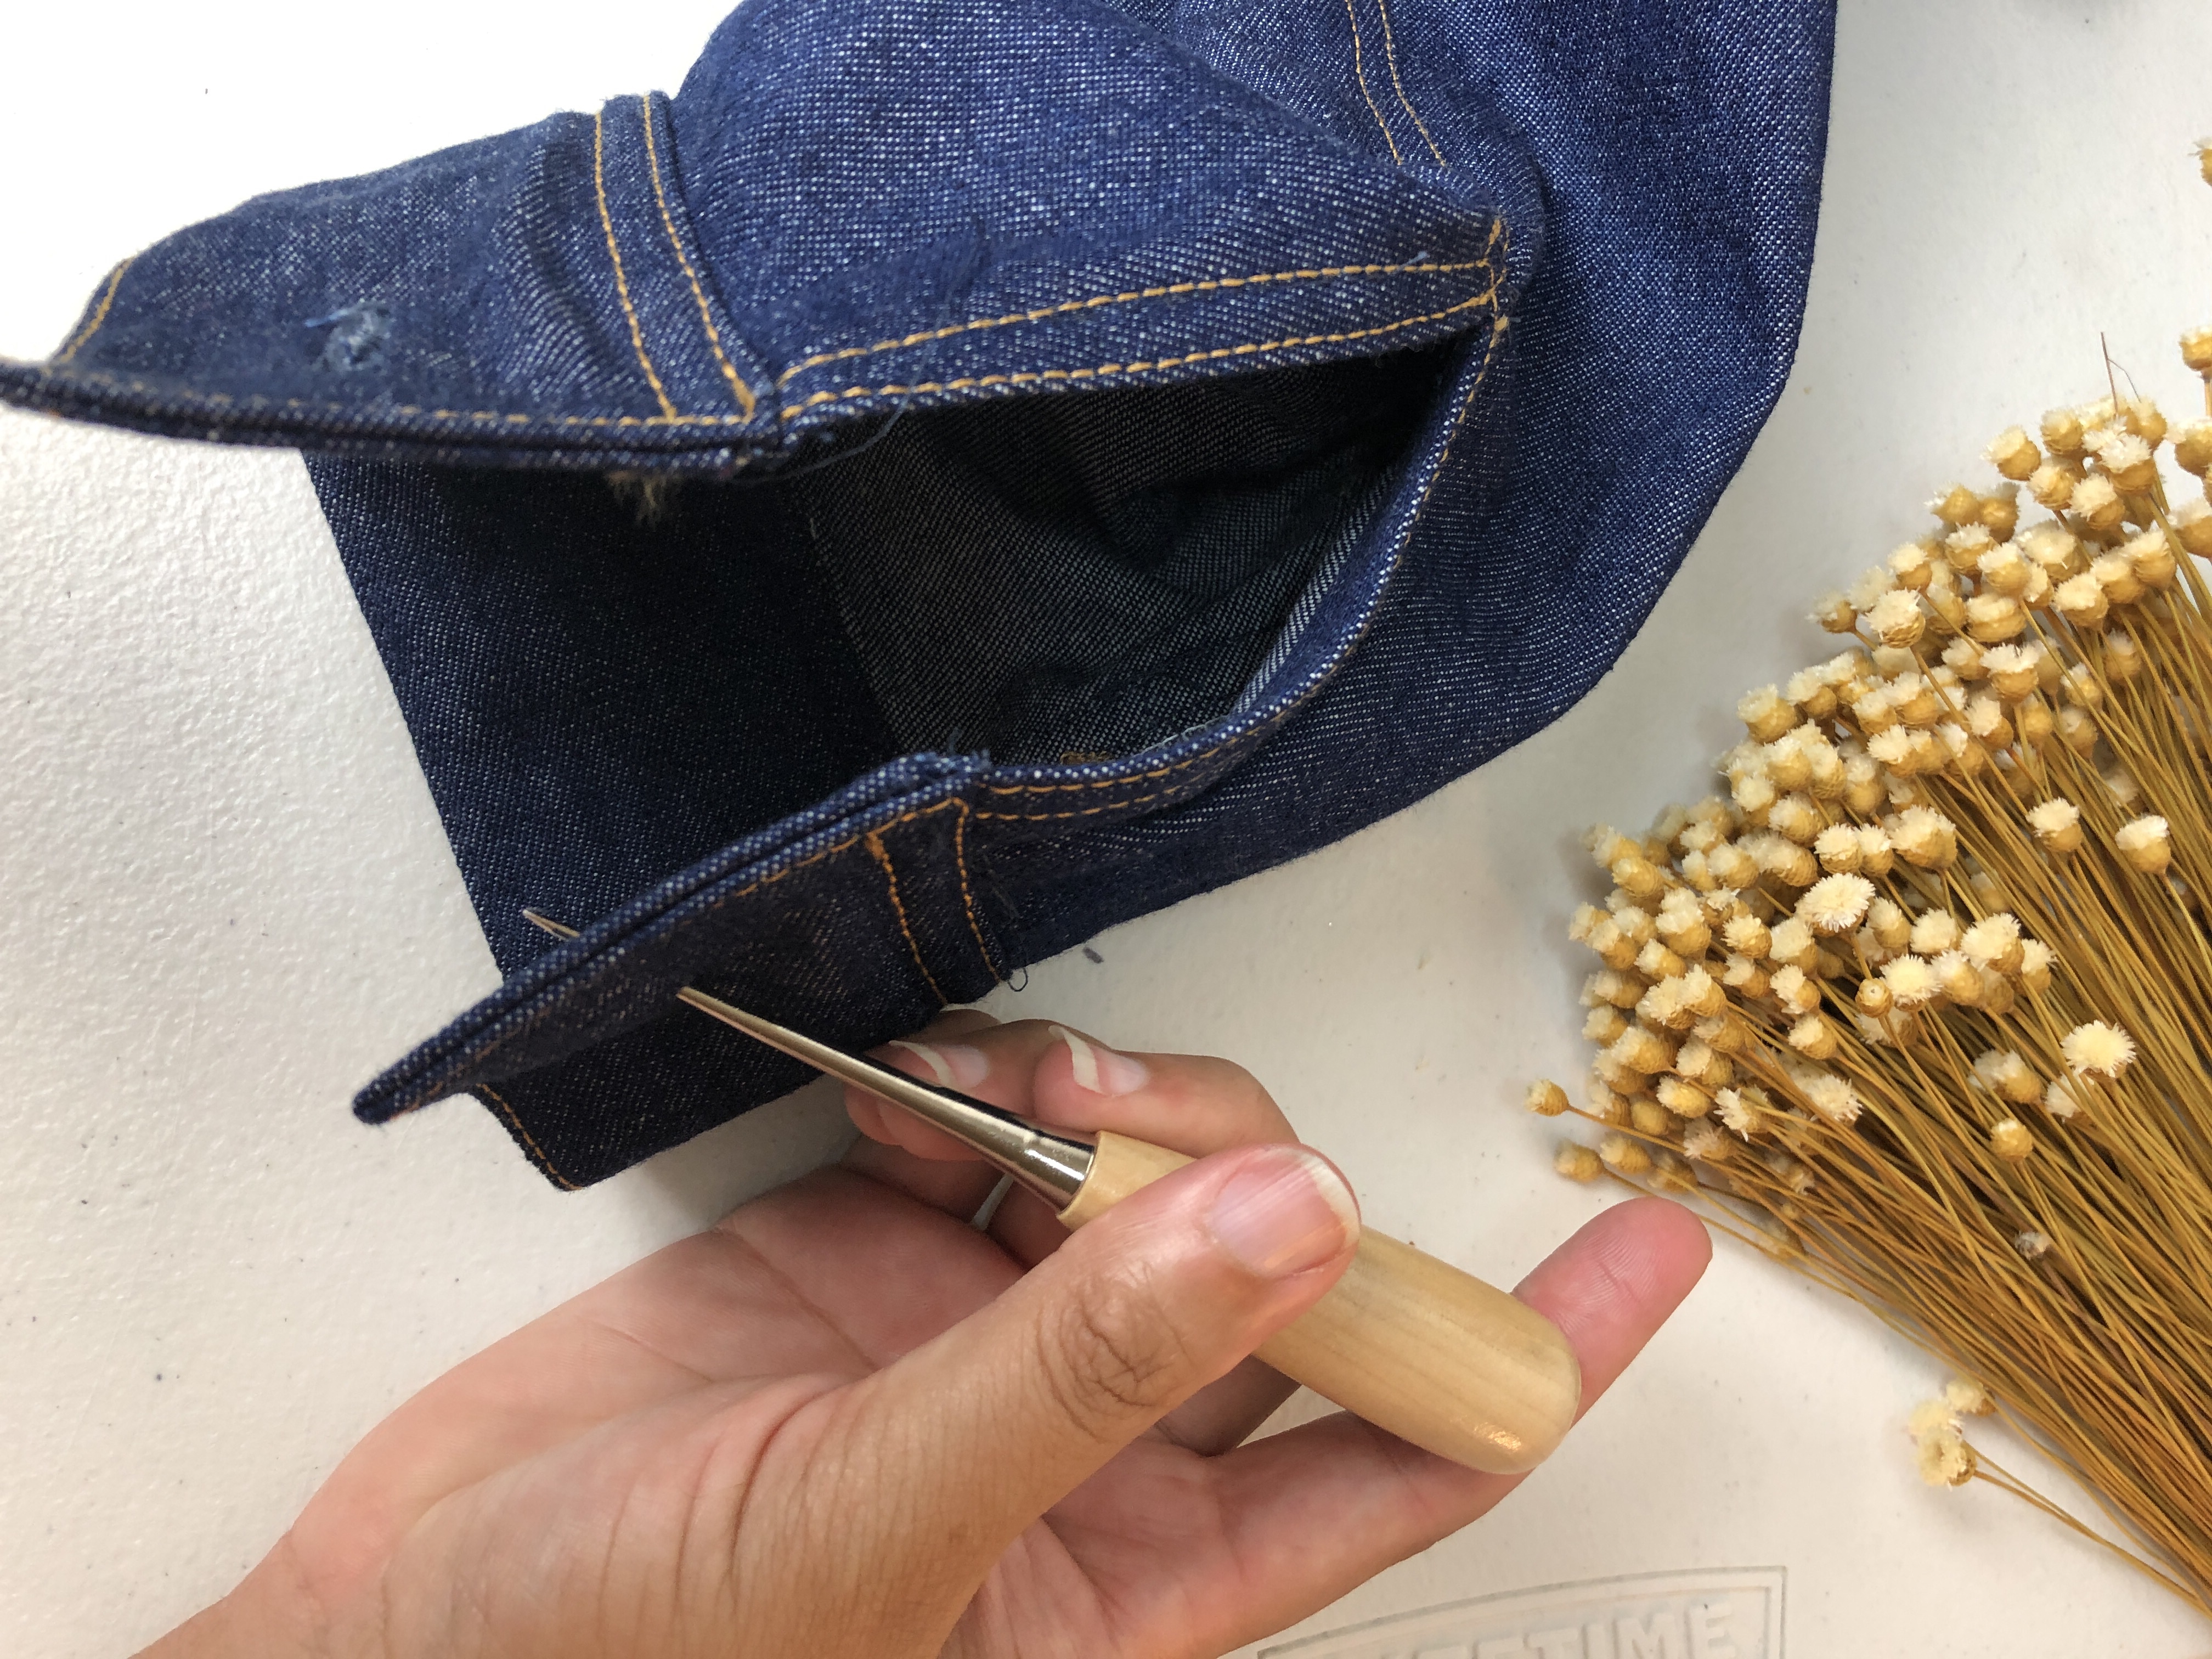
Using your awl, poke a hole in the same spot. You might have to apply pressure or possibly push the awl towards the upper part of the instrument.

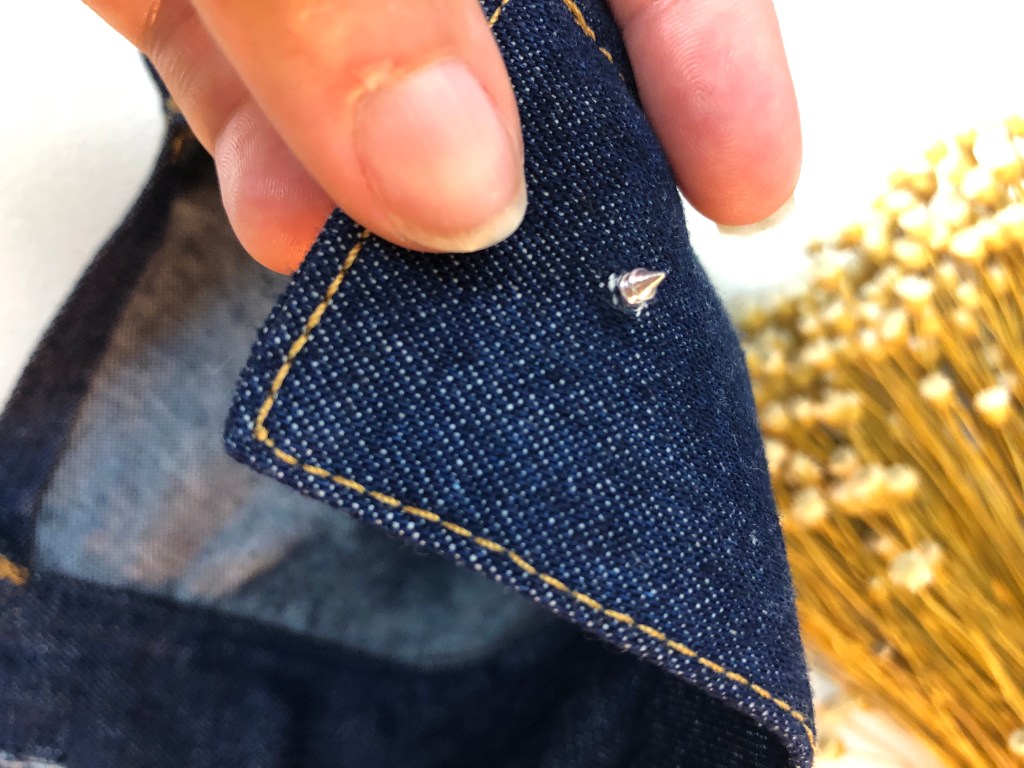
Take the bottom part of your snap that resembles a small screw and puncture the wrong side of your fabric.

Take your button and place it face down on a hard and flat surface. Match your screw to the hole of your button snap. It will not go into the hole, so you will have to use your hammer.

Using your hammer, directly apply pressure to the bottom of the snap. You’ll want to keep the hammer perpendicular to the surface to avoid the button from being crooked.

All done!
