

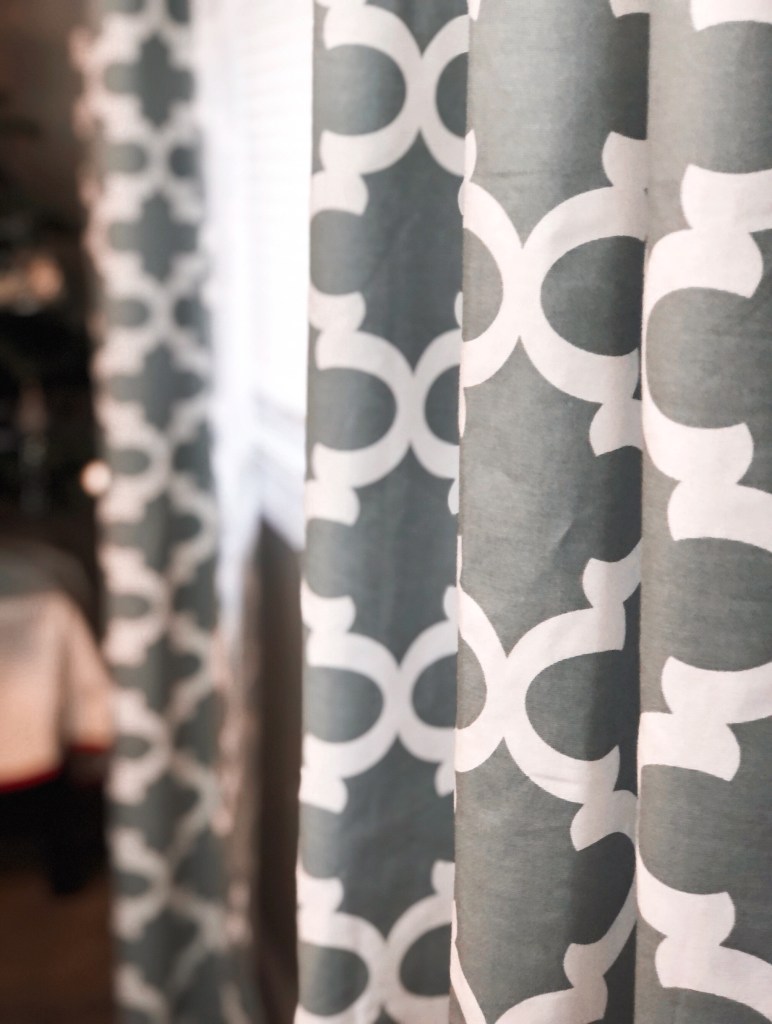
Hey y’all! I know that making things for the home is a little out of my lane – but not by much. After all, I sewed them together.
I made 3 sets of curtains for our new house and what I realized about all of them is that one, you can make a pair in an hour. And two, all you’re doing is sewing straight lines and hemming. So in all honesty, this is a beginner project. Let’s get into it!

Supplies:
- 60 inch medium to heavy weight home decor fabric (6-8 yards)
- Sewing machine
- Yard stick
- Pen or pencil
- A window
- Curtain rod
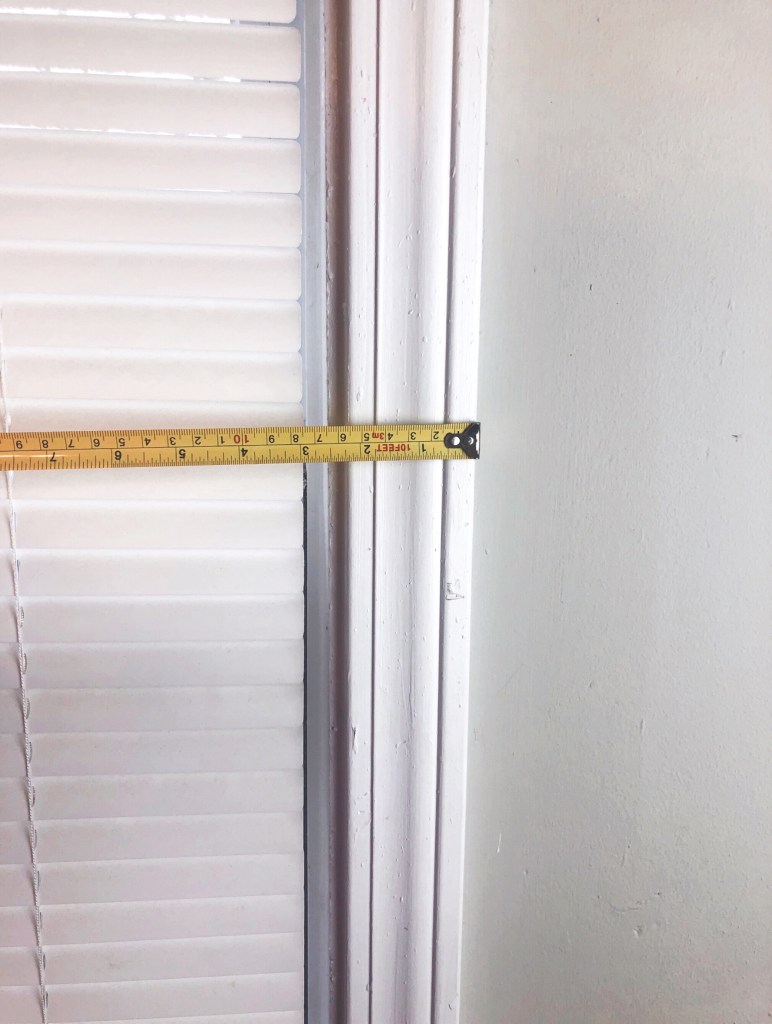
Step 1: Measure your window. You’ll want to start at the top of the frame all the way to the bottom of the floor (or your desired length). Then measure across, frame to frame. Write those numbers down on a piece of paper. This will not only be important for your curtains but it will also determine what size curtain rod that you will need. PS – if you decide to make curtains for all the rooms in your house more than likely the length for each window will be the same.

Step 2: Now for some basic math. For this example I’m going to share how I made a pair, but for a single panel the math is the same. Divide the width of your window by 2. My window was 68.5 inches but I rounded up to 69 inches. 69 divided by 2 is 34.5. Next add 2 inches for seam allowance per panel which brings my total for one panel to 36.5. Then multiply your panel total 36.5 x 1.5. The 1.5 is for volume and gathers. The total for one panel is 54.75 in width. If you’re making a pair this will be the width for each panel. I know it sounds like a lot of fabric. And it is!
Step 3: For your length, there’s a bit more basic math. From the top of the frame to the floor was 83 inches for me. Add 3 inches for the top and 3 inches for the bottom. The total is 89 inches for my window. This will be the length for each panel. In total each panel is 54.75 inches (width) x 89 inches (length).
Step 4: Now it’s time to cut your fabric. Make sure that your fabric print matches up for each panel. Since I’m a garment sewer, I actually cut my fabric on the fold like how I’m used to doing for clothes. So for the width length (54.75) I divided it by 2 and cut my piece on the fold. I also measured down the lengthwise to make sure it would be 89 inches. Not only did this save a ton of space, it also saved a lot of time.

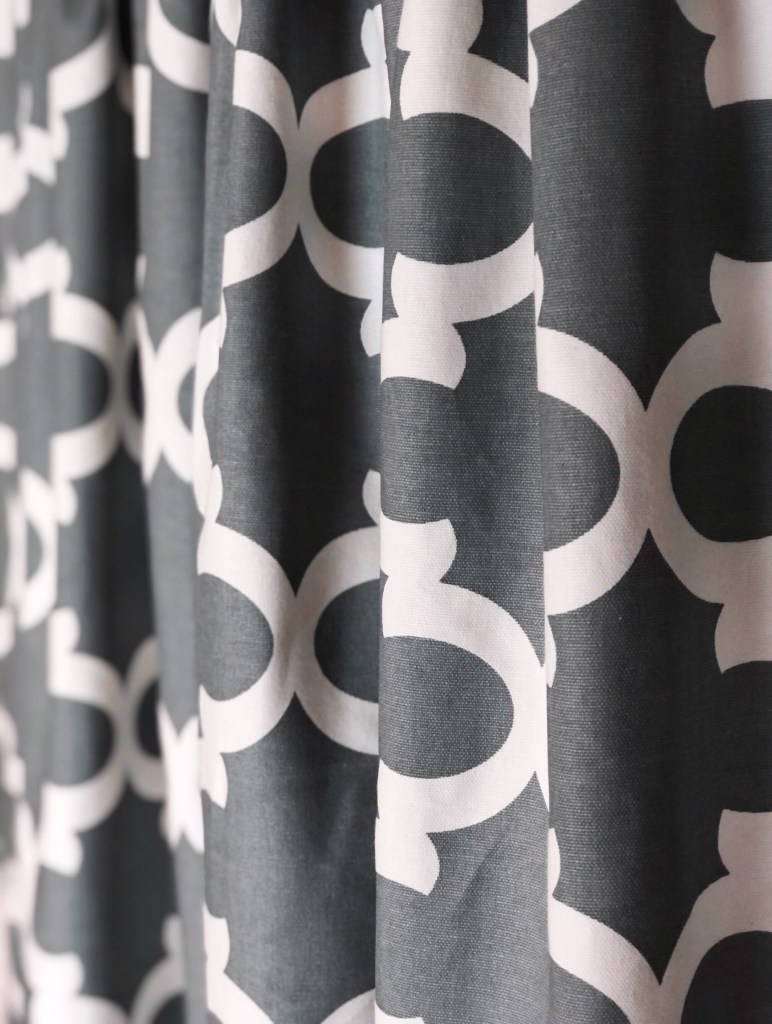
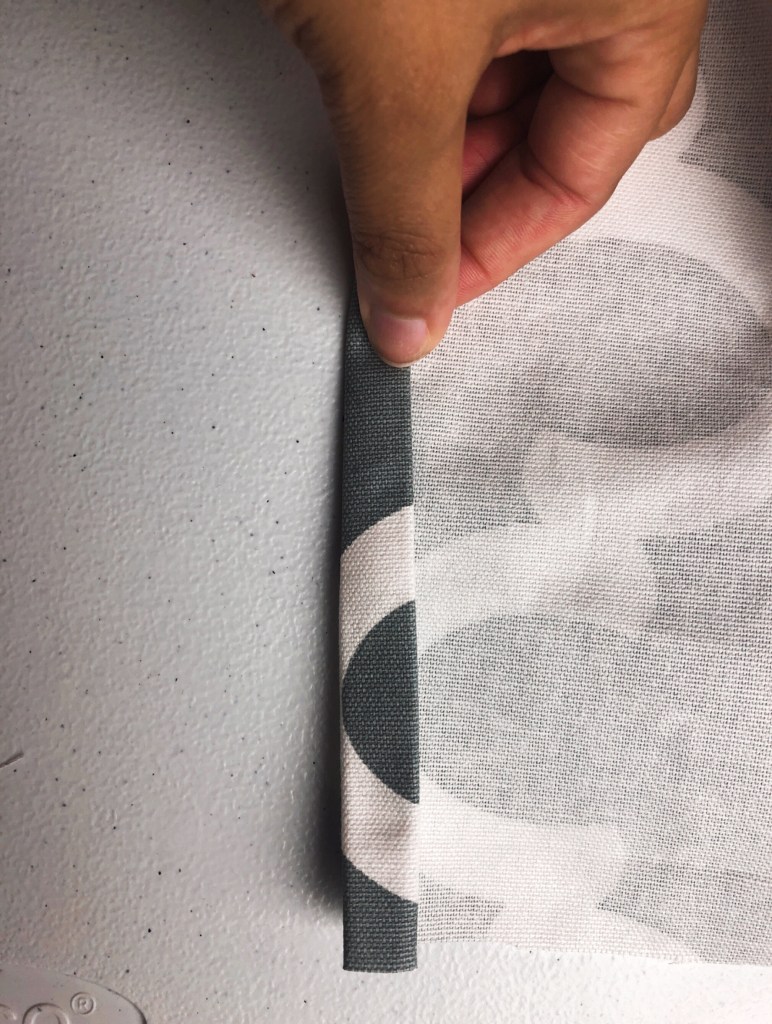
Step 5: Now it’s time to sew! Take your sides and fold them over a 1/2 inch and another 1/2 inch then edge-stitch along the sides.

Step 6: For your bottom hem, fold it over once at 1/2 inch, then fold it again at 2 inches. Edge stitch.

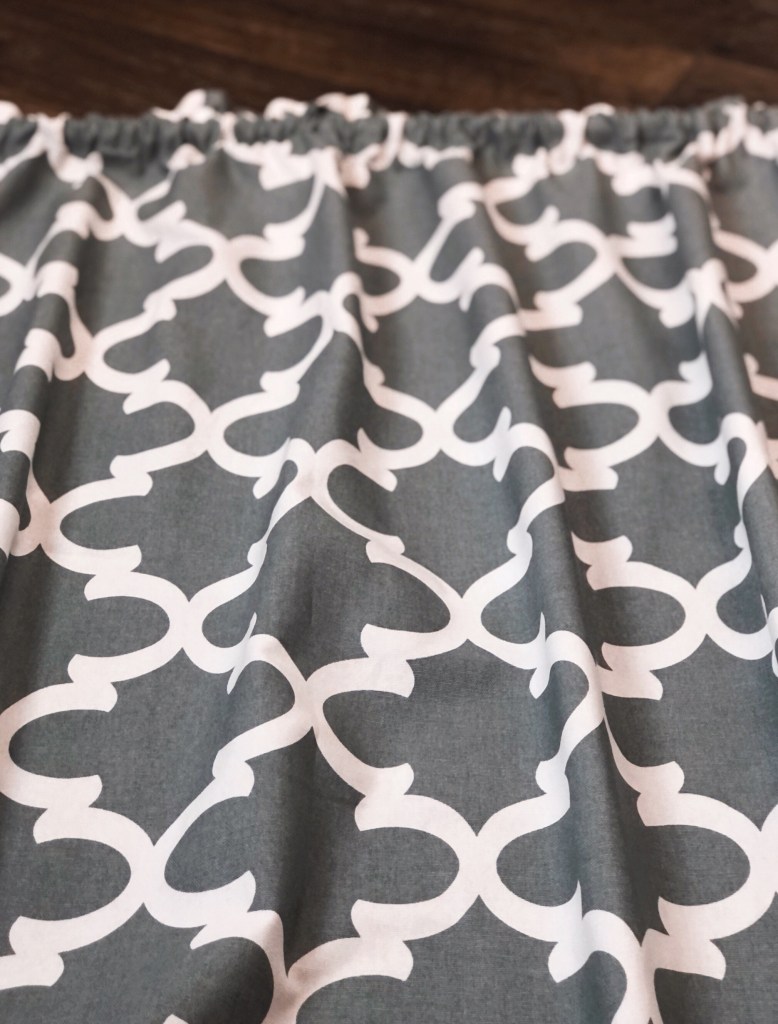
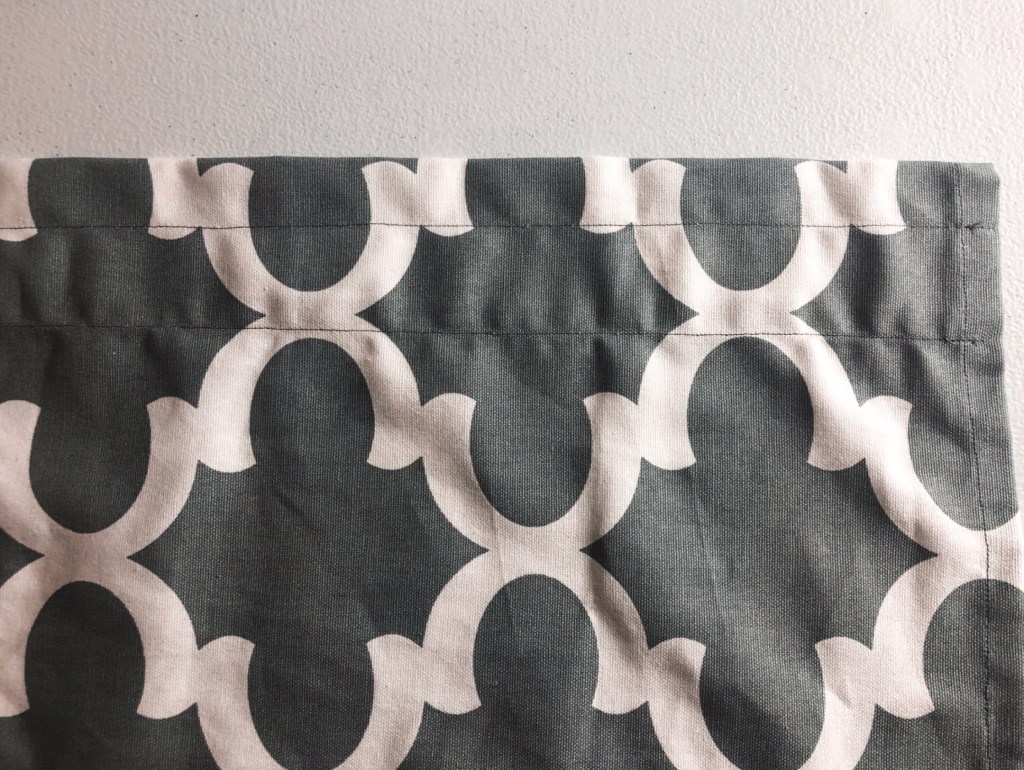
Step 7: For the top (keep in mind this is where your rod will have to slide in) fold over your bottom edge by 1/2 inch. Then fold it over again by 2.5 inches. Stitch one line 1 inch away from your top folded edge. Now you should have two stitch lines. The rod will insert into the larger pocket creating a pretty gather effect at the top.


Step 8: Hang up your curtains and enjoy!


Bonus tip: If you have a smaller window and you wish to make cafe curtains, you can follow the same exact steps! The only difference is that your curtain length is your widow length divided by 2. For example, I made a cafe curtain to hang over our kitchen sink. Our window is 40 inches in length. The cafe curtain length is 20 inches plus 3 inches for each the top and the bottom. The total length is 26 inches.
