Happy New Year! ICYMI I moved to Jackson, MS, got engaged and I’ve been in “nesting mode” ever since. One of the projects I made over the holidays was this DIY slipcover. See, my fiancée had a really awful colored arm chair. It was like….a chenille seafoam green (but very comfortable) arm chair. Bottom line, it really did not match the theme of…anything! So I did a quick search to see how I can make a slipcover. As it turns out slipcovers are unique to their chair – meaning that there is no pattern or template. Your chair is simply the pattern. So let’s get into it.


Supplies:
- 8-10 yards of canvas, linen, duck canvas or upholstery fabric
- 8-10 yards of muslin (optional)
- Long sewing pins
- Trace paper
- Seam allowance: 1/2 inch

Step 1: Remove all cushions and pillows from your armchair. Analyze the where the visible seams start and begin. Optional: draw a rendering of your armchair to document your measurements.
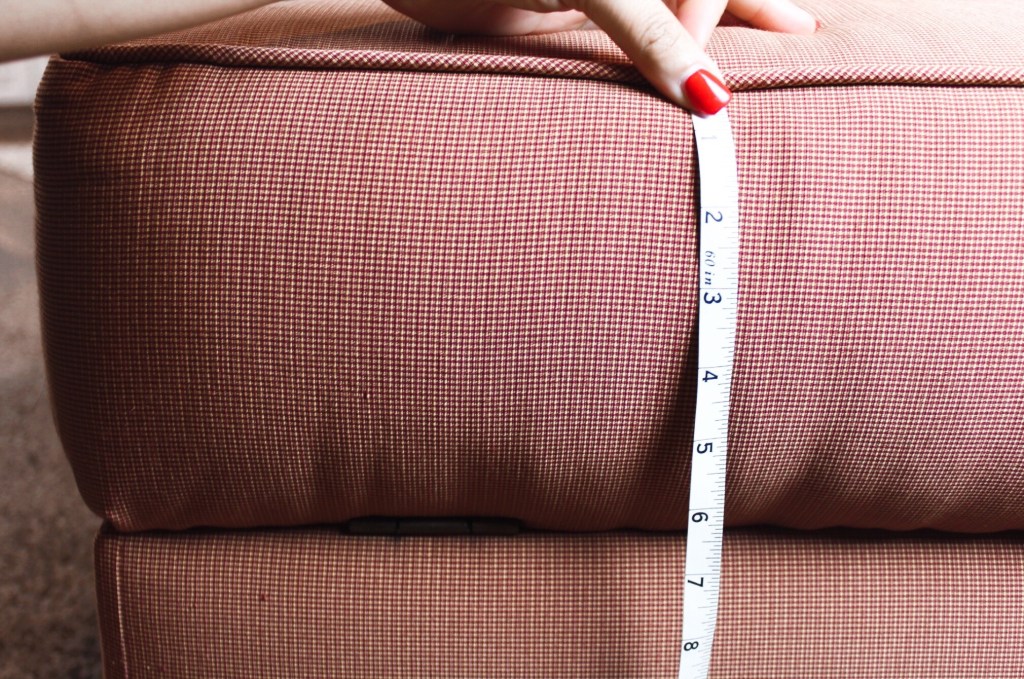
Step 2: With your measuring tape, measure from the back of the chair (the inside part) from top to bottom, and then from side to side. Add 1 inch all sides of this measurement. Your top to bottom measurement is length. Your side to side measurement is your width.
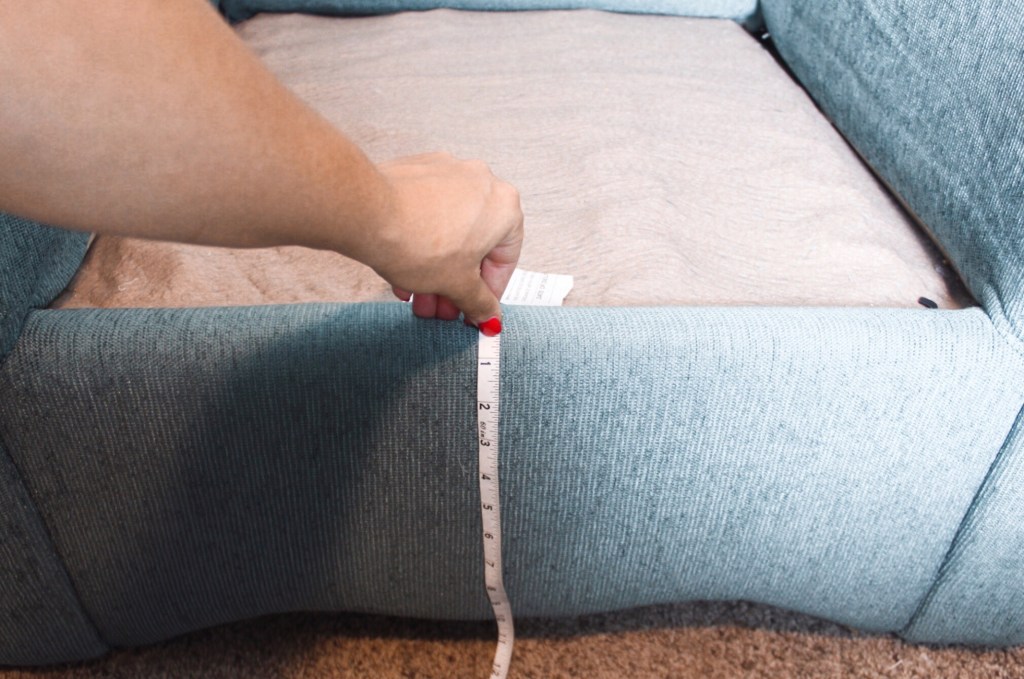
Step 3: Repeat the same steps, but measure the seat that connects to the back of the chair. Add 1 inch to all sides of this measurement. Be sure to measure beyond the surface so that it fits properly.

Step 4: Repeat the same steps for the bottom of the chair. Be sure to measure from seam to seam. Add 1 inch each length and width amount.
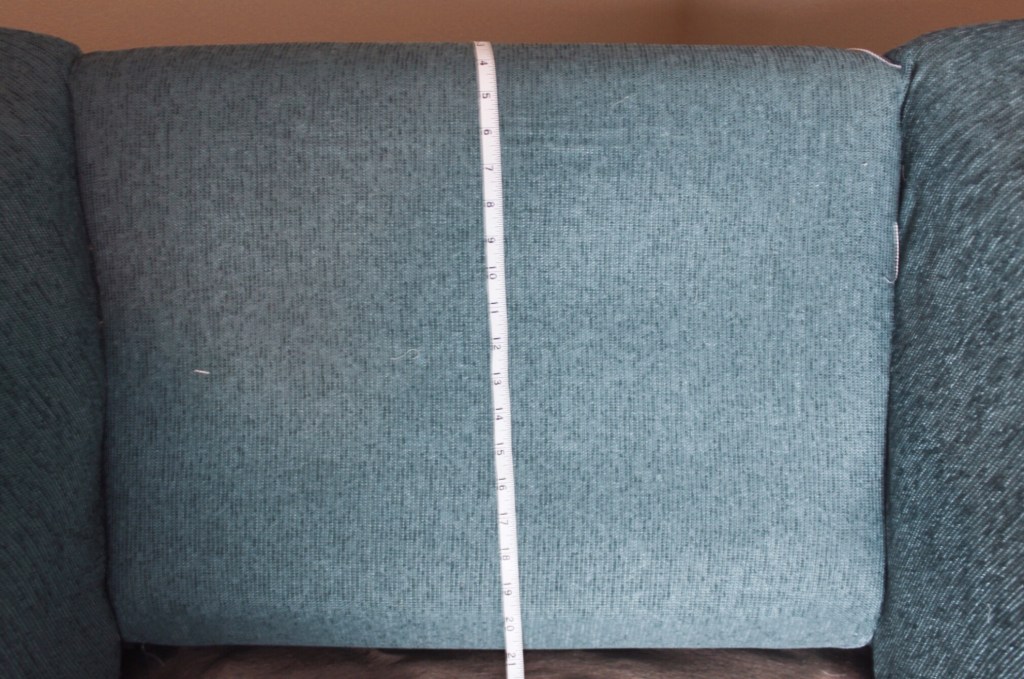
Step 5: Measure the full back of the chair seam to seam, from top to bottom and side to side. Add 1 inch to each length and width amount.
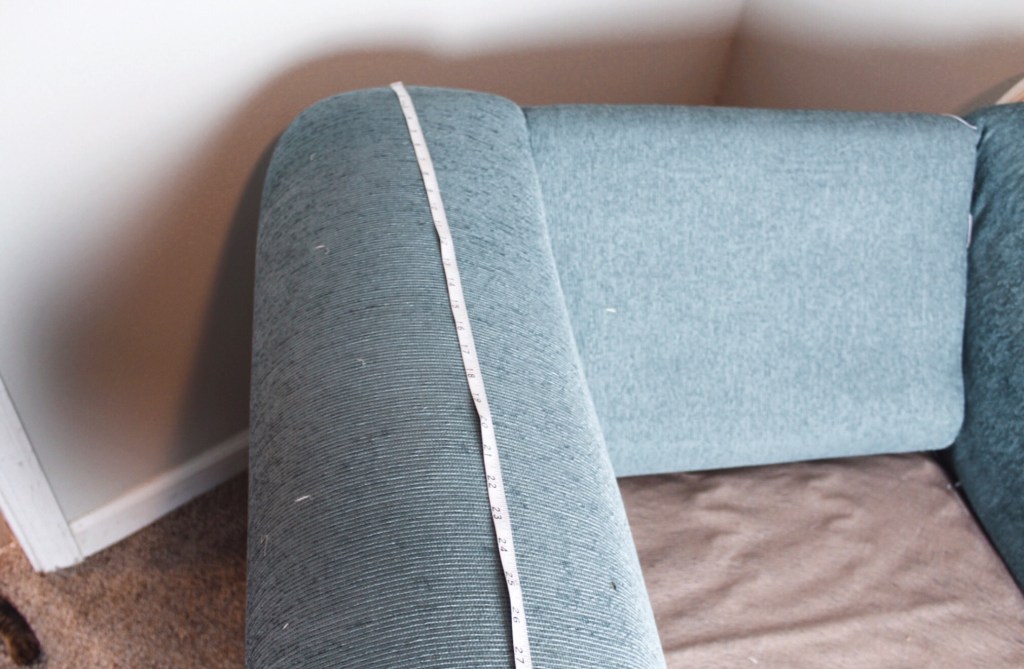
Step 6: Every arm curve is different. For me, I simply took the measuring tape and measured the top of the chair and the entire width (from the bottom seam all the way around). It’s totally normal to get a large number – mine was about 40 inches around which I considered to be the width. It’s okay to add more than 1 inch of seam allowance to this piece. There should be more than enough ease so that it can fit nicely over the chair and into the creases.

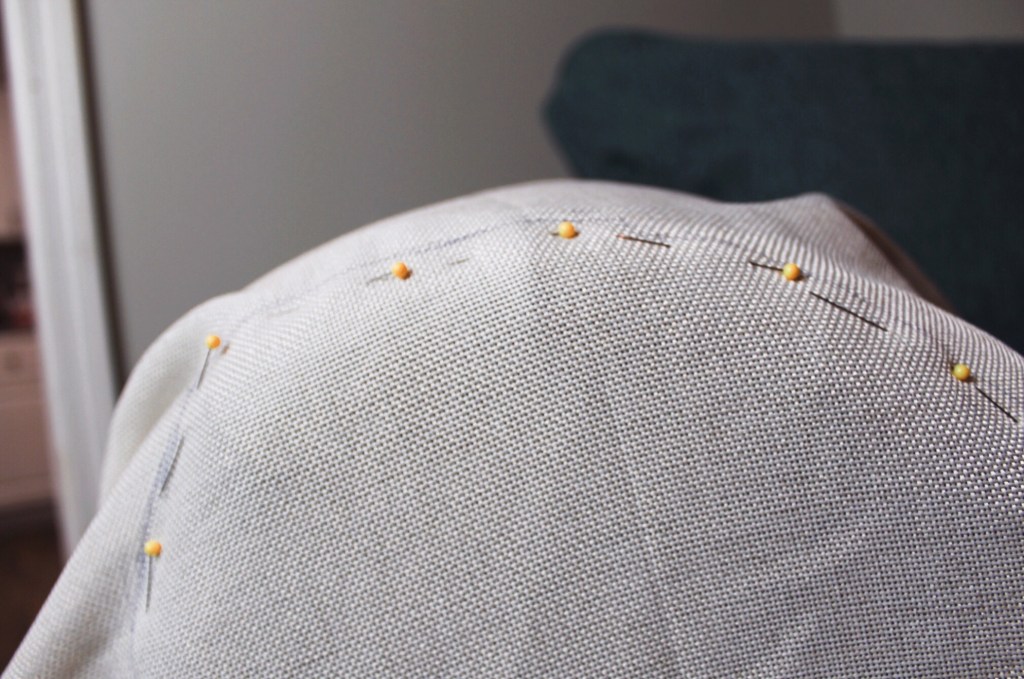
Step 7: If your chair has any curves, such as this one in the front of the armchair, then I high recommend rubbing and or draping this section. I rubbed mine, and traced it with pins. Then I took my pen and marked where I pinned then removed the fabric from the chair.
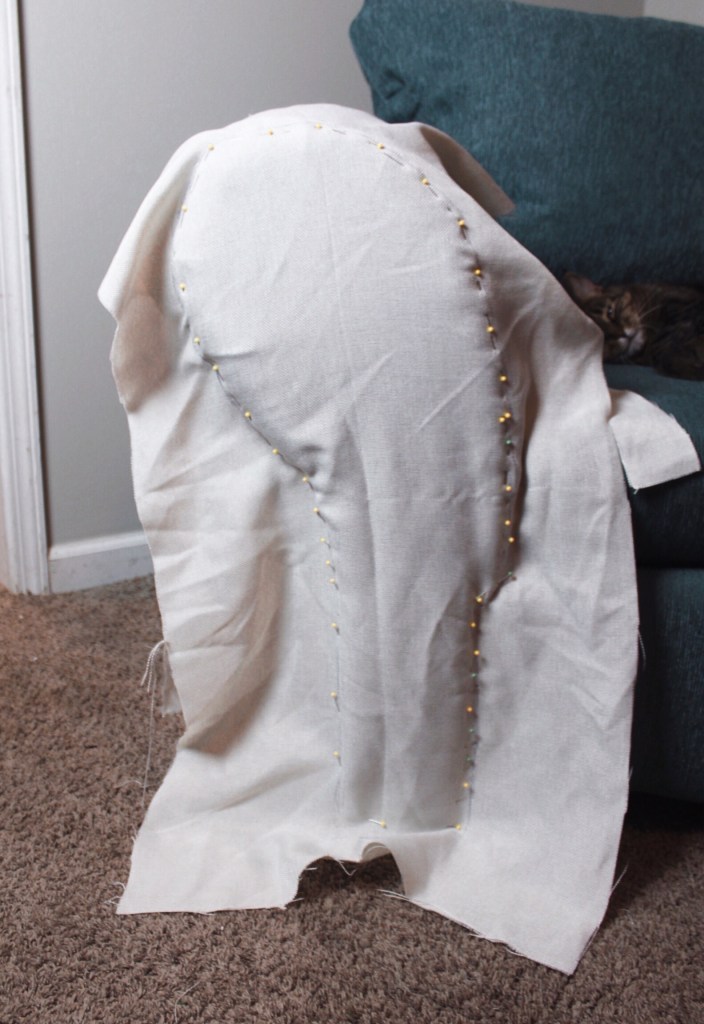
Step 8: I traced the pattern piece onto a piece of pattern paper then added a 1/2 inch seam allowance all the way around. Then I used the final draft of the pattern and cut 2 of each out of the fabric. Note: your armchair shape may not be the same from the front of the chair to the back. You might have to redraft the back of the chair.

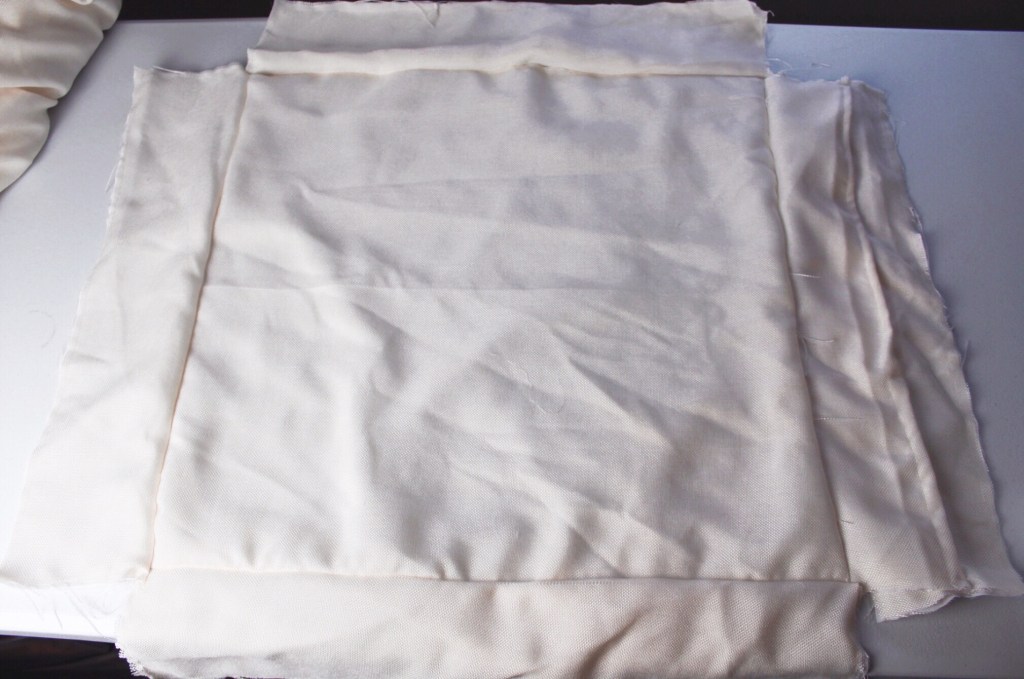
Step 9: Take your measurements and begin to cut squares from your fabric. Be sure to keep in mind which square correlates with each part of the chair. I grouped mine together, or you can leave small sticky notes on each.
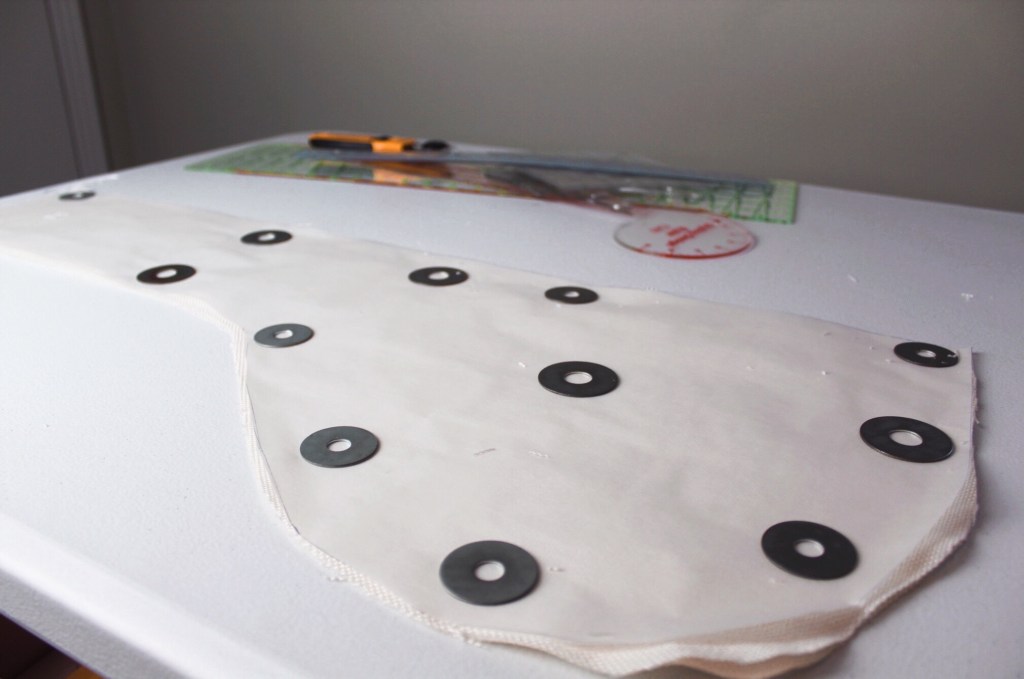
Step 10: This step is optional, but if you want more stability then you can cut out matching squares and pattern pieces in a light muslin or broadcloth. Baste your matching pattern pieces together.

Step 11: Repeat the same measuring steps for any additional accessories like your pillows and (if it exists) an ottoman.
Step 12: Take both of your back chair pieces, seat and bottom portion and sew together using a 1/2 inch seam allowance. Turn it inside out and lay it onto the armchair.

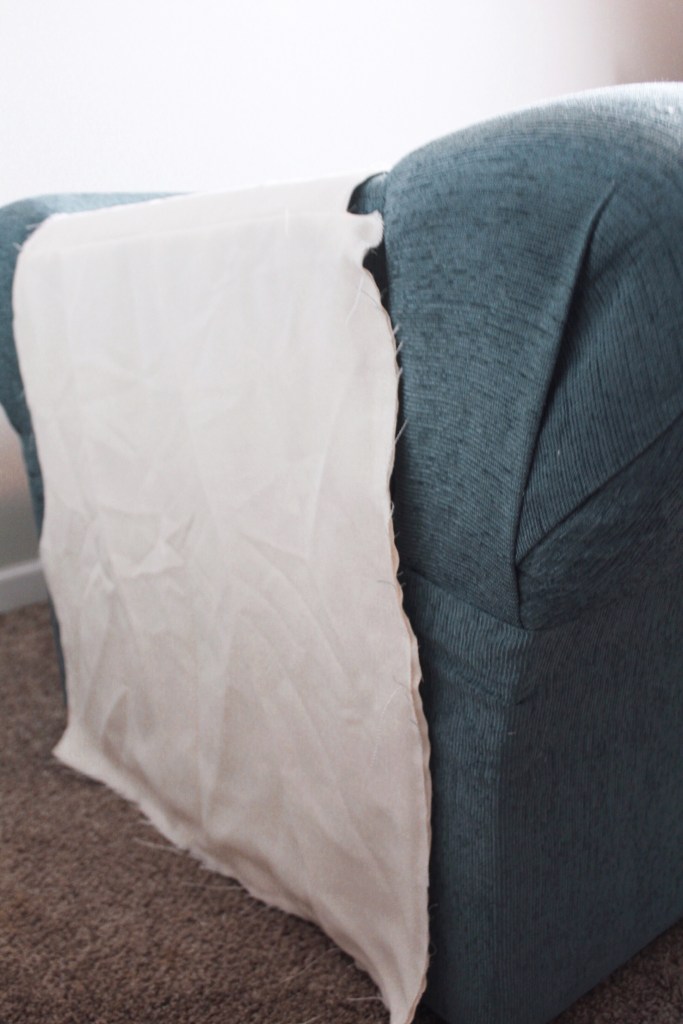
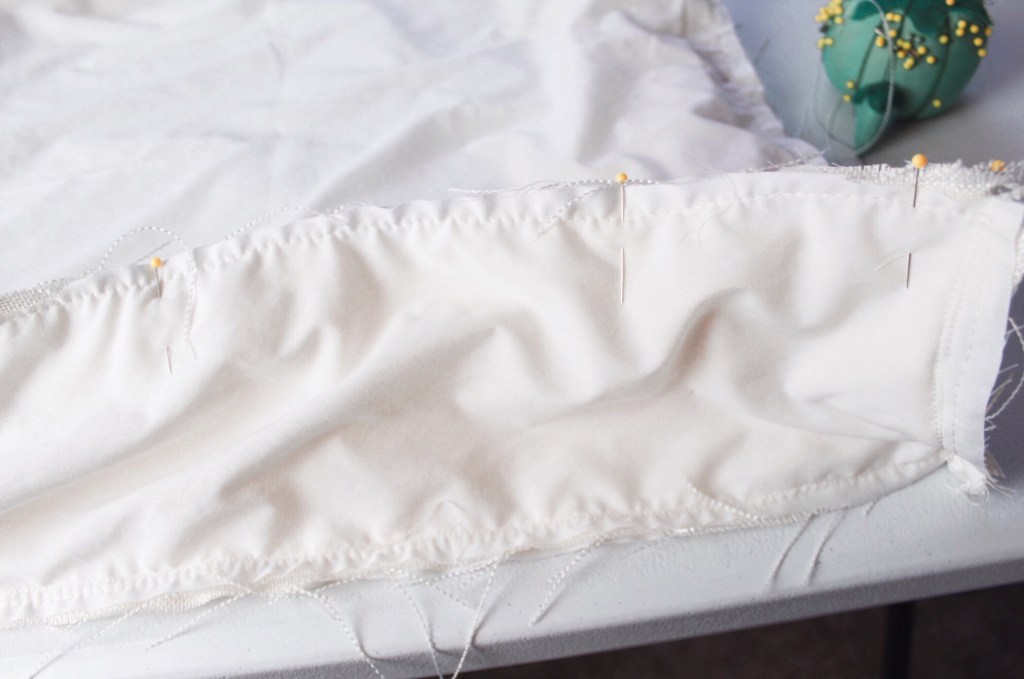
Step 13: Take your arm pieces and begin pinning them to the completed pieces around the armchair. Make sure that it is inside out. Complete these steps around the entire armchair except the back.
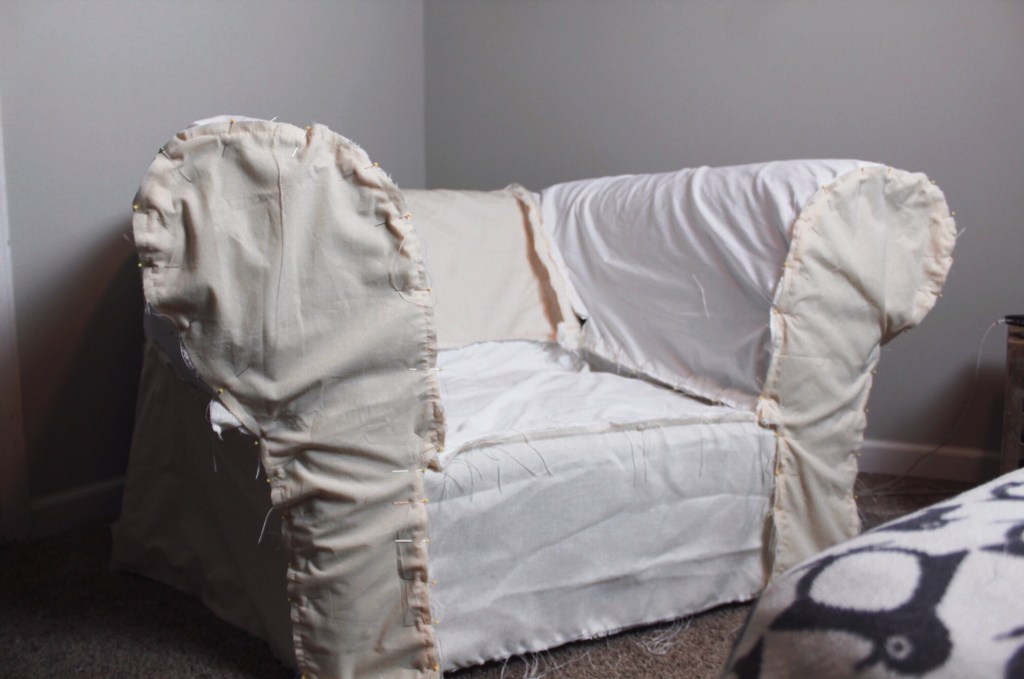

Step 14: Sew all of your pieces together, press your seams then serge or pink them as you go.
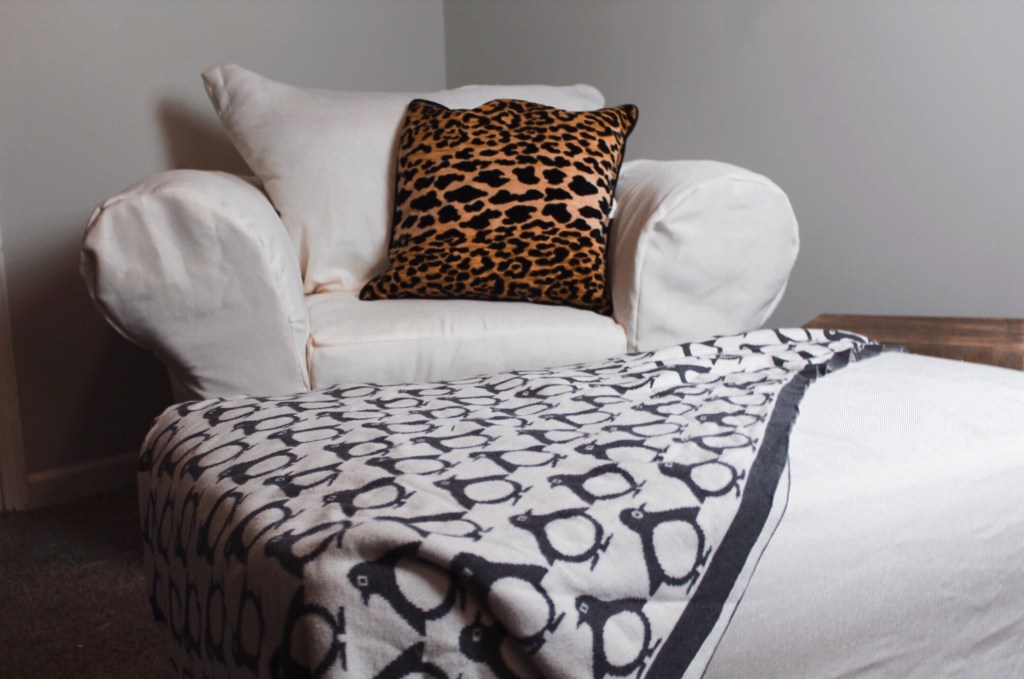
Step 15: Test out your slipcover, then begin on the backside. Be sure to leave one side open on one of the back seams. If you plan to never remove it, then you can hand sew it up after you have fitted it to the chair. If you plan to remove it, wash it, etc, then you will want to attach velcro or hem it and leave a slight opening flap or pleat.
Step 16: Hem the bottom and it’s complete.

(Optional) Steps for your ottoman:
Note: be sure to measure your ottoman pieces and add 1 inch just like the armchair.


Step 1: Sew together your top and sides. It should for a shape of a lower case “t” or a cross.
Step 2: Sew together the sides so that it forms a right angle corner.

Step 3: At this point, your ottoman should be taking shape. Hem the bottom and finish.

(Optional) Steps for your pillows and cushions:
Note: measure all sides the same as above, except the side with the zipper or opening.
Step 1: Repeat the steps above from the ottoman.
Step 2: Make your envelope flap (this is where the opening will go) with some simple math. For example, the zipper side is 5 inches + 1 inch for SA = 6 inches total. Divide it by 2 and each side becomes 3 inches. However, we want those pieces to overlap. Instead add 3 inches to each side. Your total should be (2) 6 inch pieces.

Step 3: Hem both, then baste them together like this. Make sure that the total size is equal to all sides of your cushion. You’ll notice that the flap has created an opening.
Step 4: Add this to your pillow or cushion. Finished.