
Hi everyone! As a Makerist ambassador, I had the privilege to sew my own pair of panties live on Instagram! Since that time, I’ve had a lot of folks ask me all about making panties, and so I decided to make an entire blog post with a mini sew along to help you make a pair of too!
First, you’ll need to download the FREE Leonie panty pattern here. Next, make sure you grab your supplies. You’ll need the following:
Serger and/or sewing machine. I used my Janome Airthread Serger and the Skyline S7 Machine for this project.
- Lingerie elastic. This is the one that I used.
- Lycra, jersey knit or spandex.
- Contrasting lace or fabric is optional
- Stretch knit needles for your machine
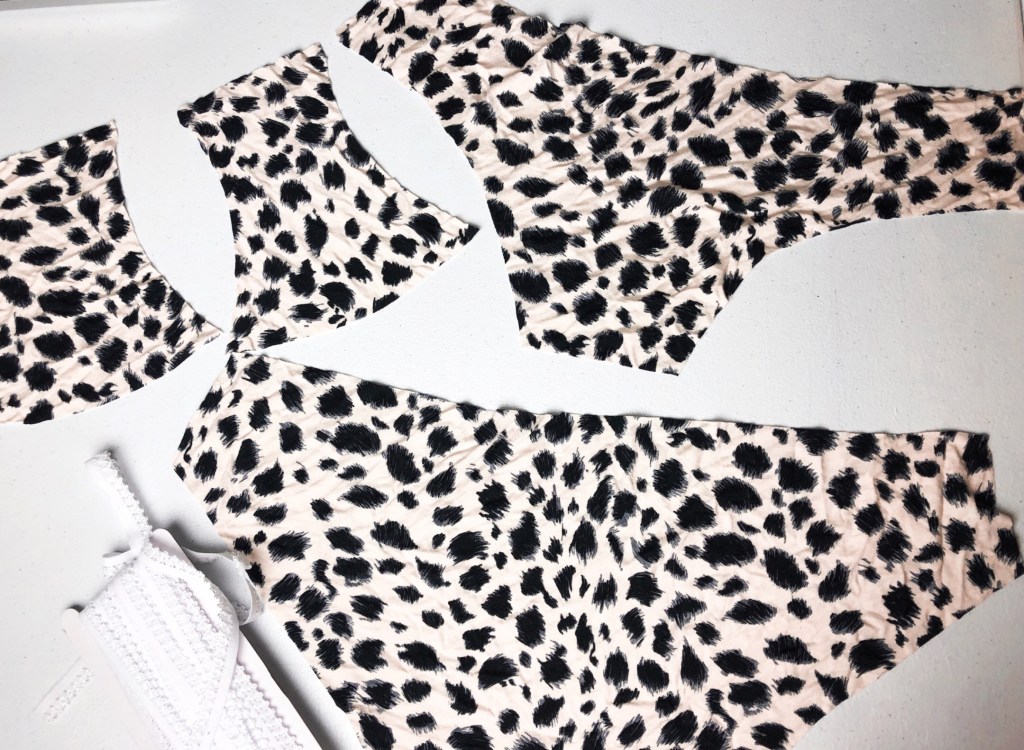
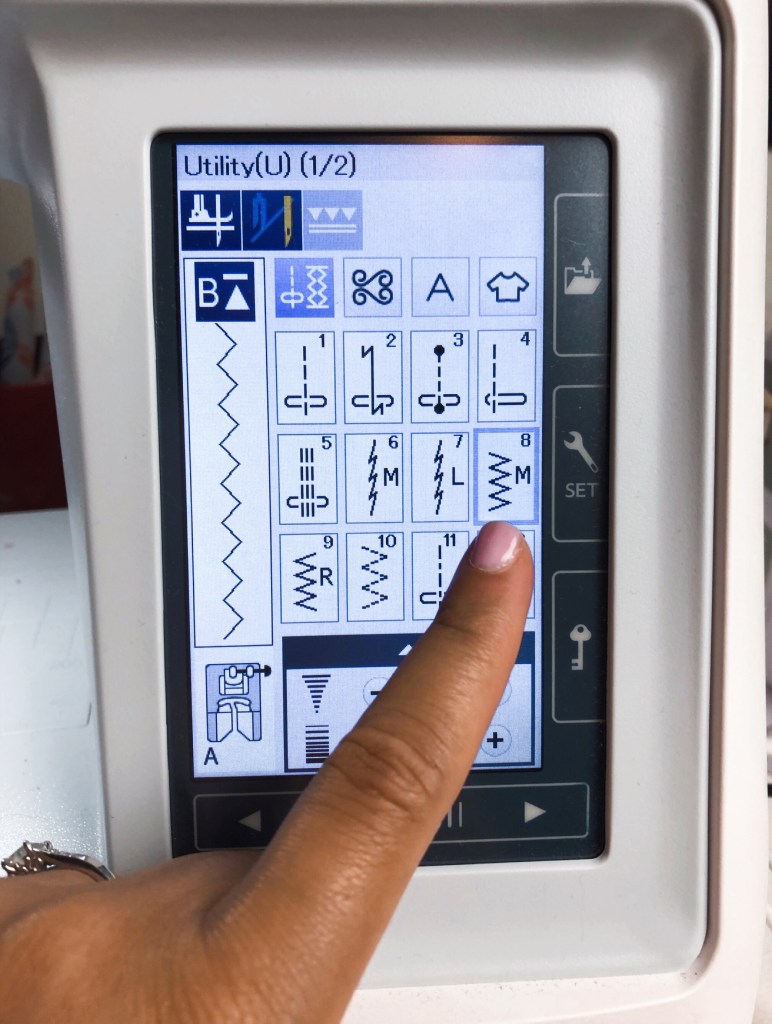
First cut out all of your pieces. You’ll need to cut 2 of your gusset. That’s the crotch piece. Sorry, there’s no other way to plainly say it, LOL. You can use the zig-zag stitch on your machine, but for this tutorial I used my serger. It’s completely up to you.
Right sides together sew your gusset to your front piece. Like this.
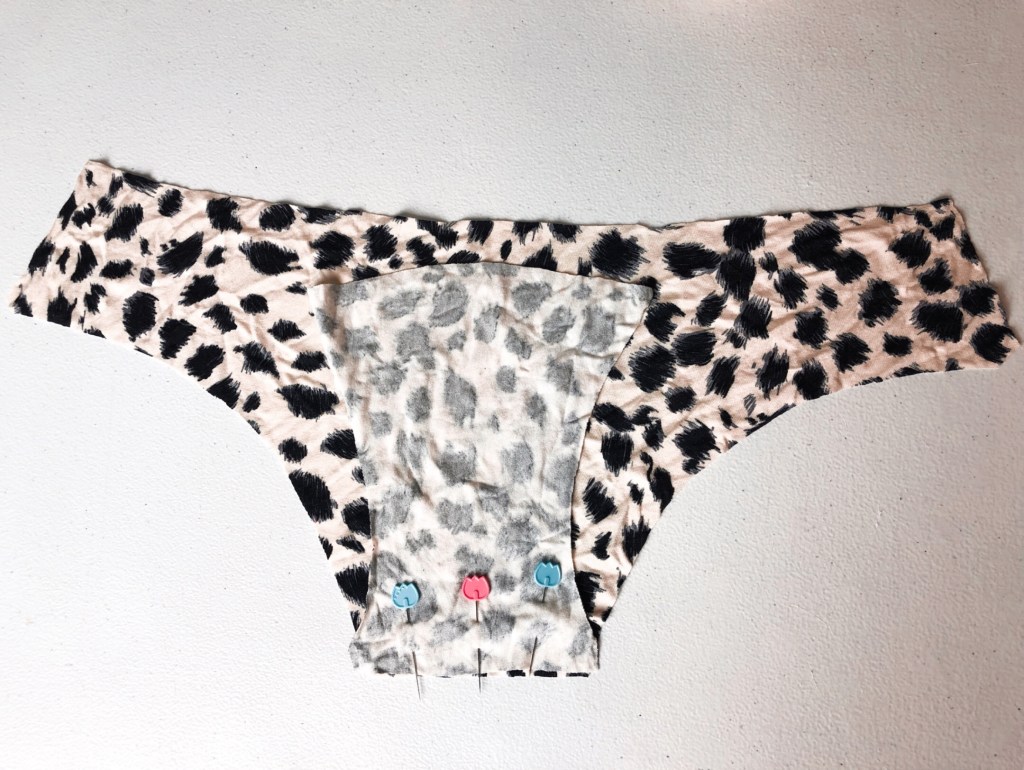

On the other side of your front piece, wrong sides together sew your other gusset piece. It should look like this.
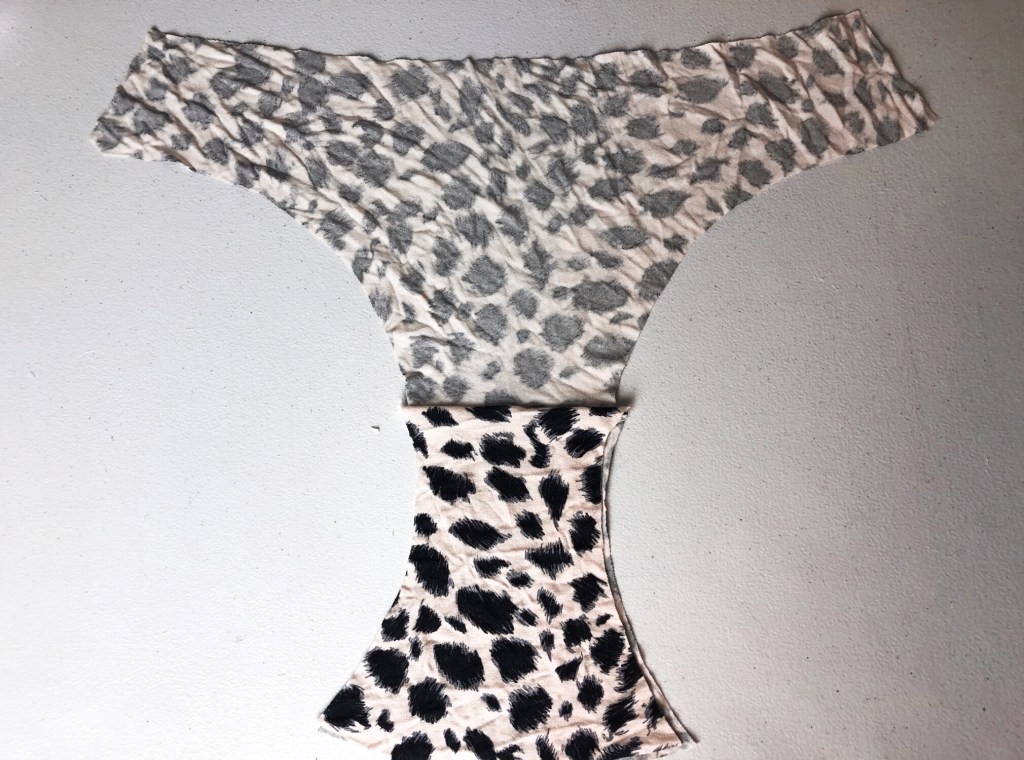

Attach your back piece, sewing through all thicknesses.

Attach your sides. And it should already start to look like a pair of panties. YAY!
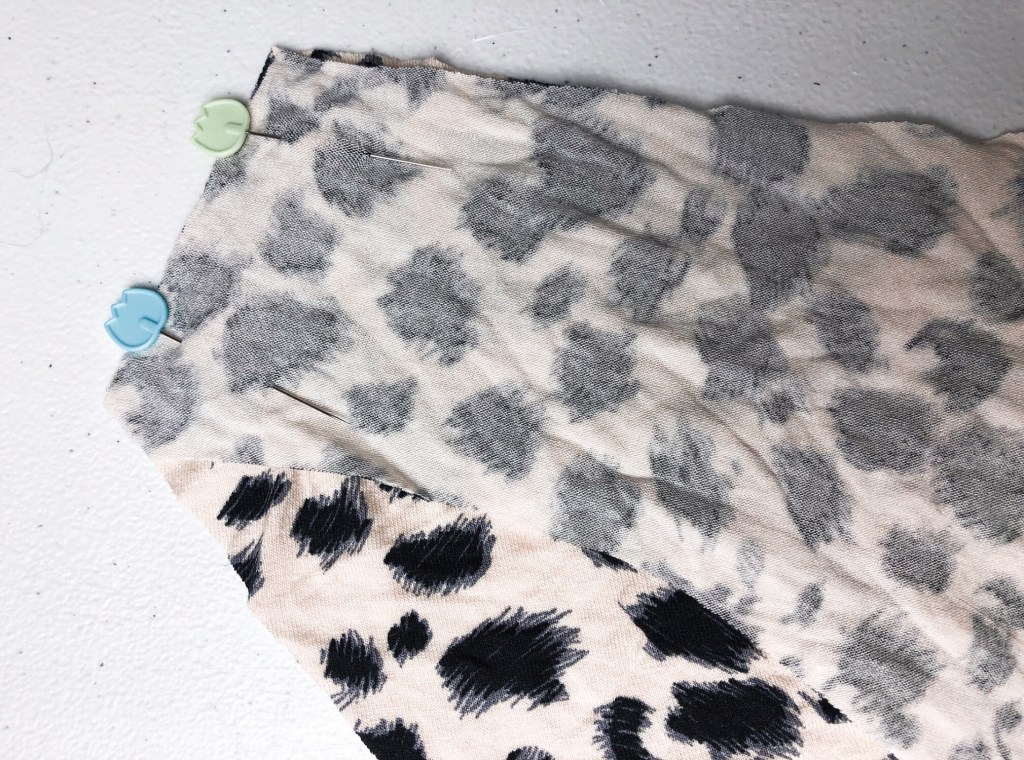
This is not part of the instructions but it helped me prepare for the next step. Baste your gusset pieces together so that they stay put while sewing on your elastic.

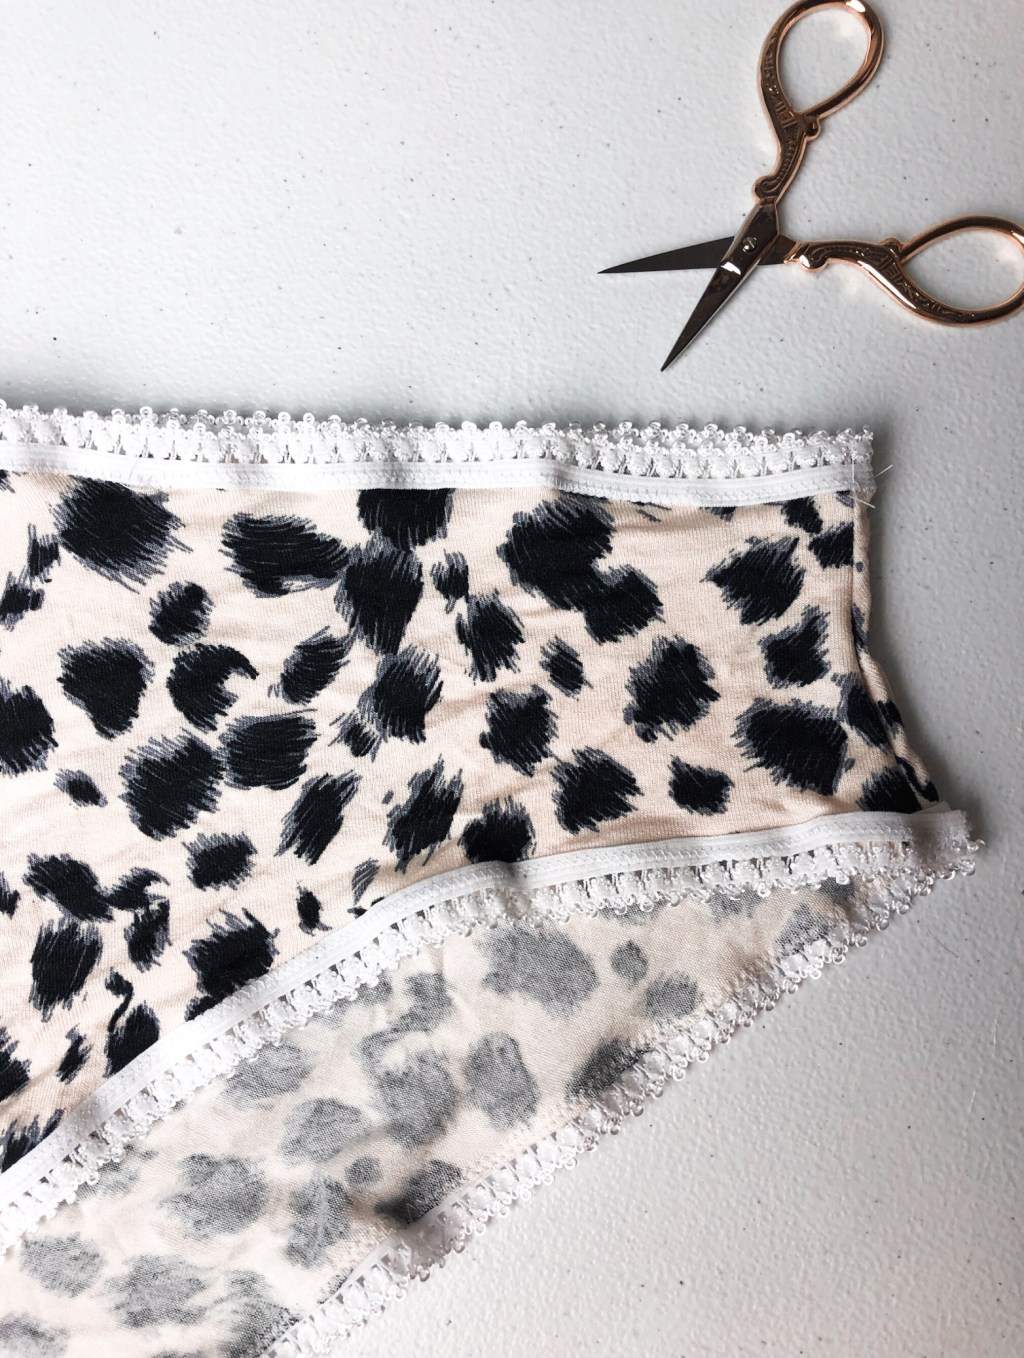
Here’s the tricky part. Attaching the lingerie elastic. I always sew my elastic with the design showing on the right side. It’s just easier that way and I don’t believe there is a right or wrong way to do it if you ask me.

Using your zig-zag stitch on your machine you’ll need to add this piece to the waistband and the leg openings of your panties. I turned my panties so that the wrong side is showing (so I can make sure that my stitch is catching the elastic and the fabric) and I stitched all the way around my waistband and leg openings. You’ll want to be extra careful not to stretch your elastic or the fabric during this step.
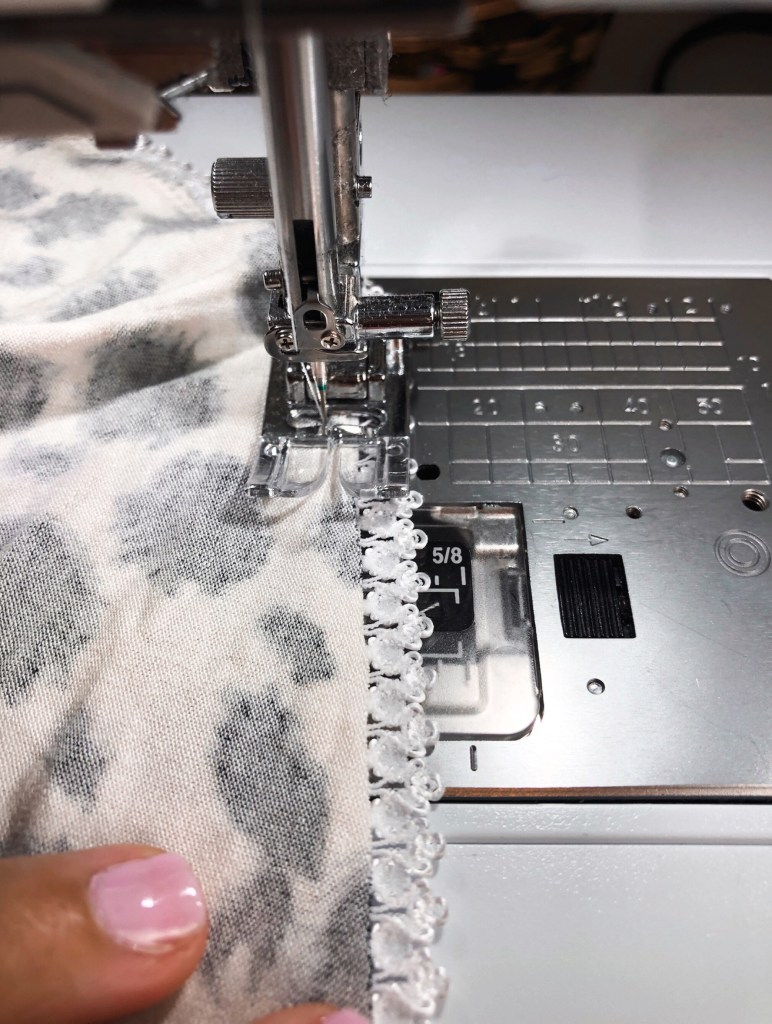

Next, I overlap the edges of the elastic at the seam to avoid bulky-ness.

TA-DA! You are all finished!

